I really like my PrintrBot. It’s compact, reliable, and straightforward to build.
 Unfortunately, when I started getting ambitious with experimentation, I got into trouble. Basically, I started experimenting with things. First, it was printing with Nylon trimmer line. I was too impatient to dry the line as instructed, so it clogged everything up like crazy. That left me without a nozzle until I could figure out a way to clean it, and while I eventually did, it led me to wanting backup nozzles. That’s when I started to discover how odd-ball the PrintrBot is compared with most 3D printers. It doesn’t take the nozzles that 95% of other printers do…instead of an M6-threaded male nozzle, it takes an U.S. 1/4″-20 female nozzle (see here for a comparison).
This made me look into fabricating my own nozzles, because there aren’t third-party ones out there, and hell if I’m going to pay PrintrBot $8 a pop plus shipping for a bit of machined brass.
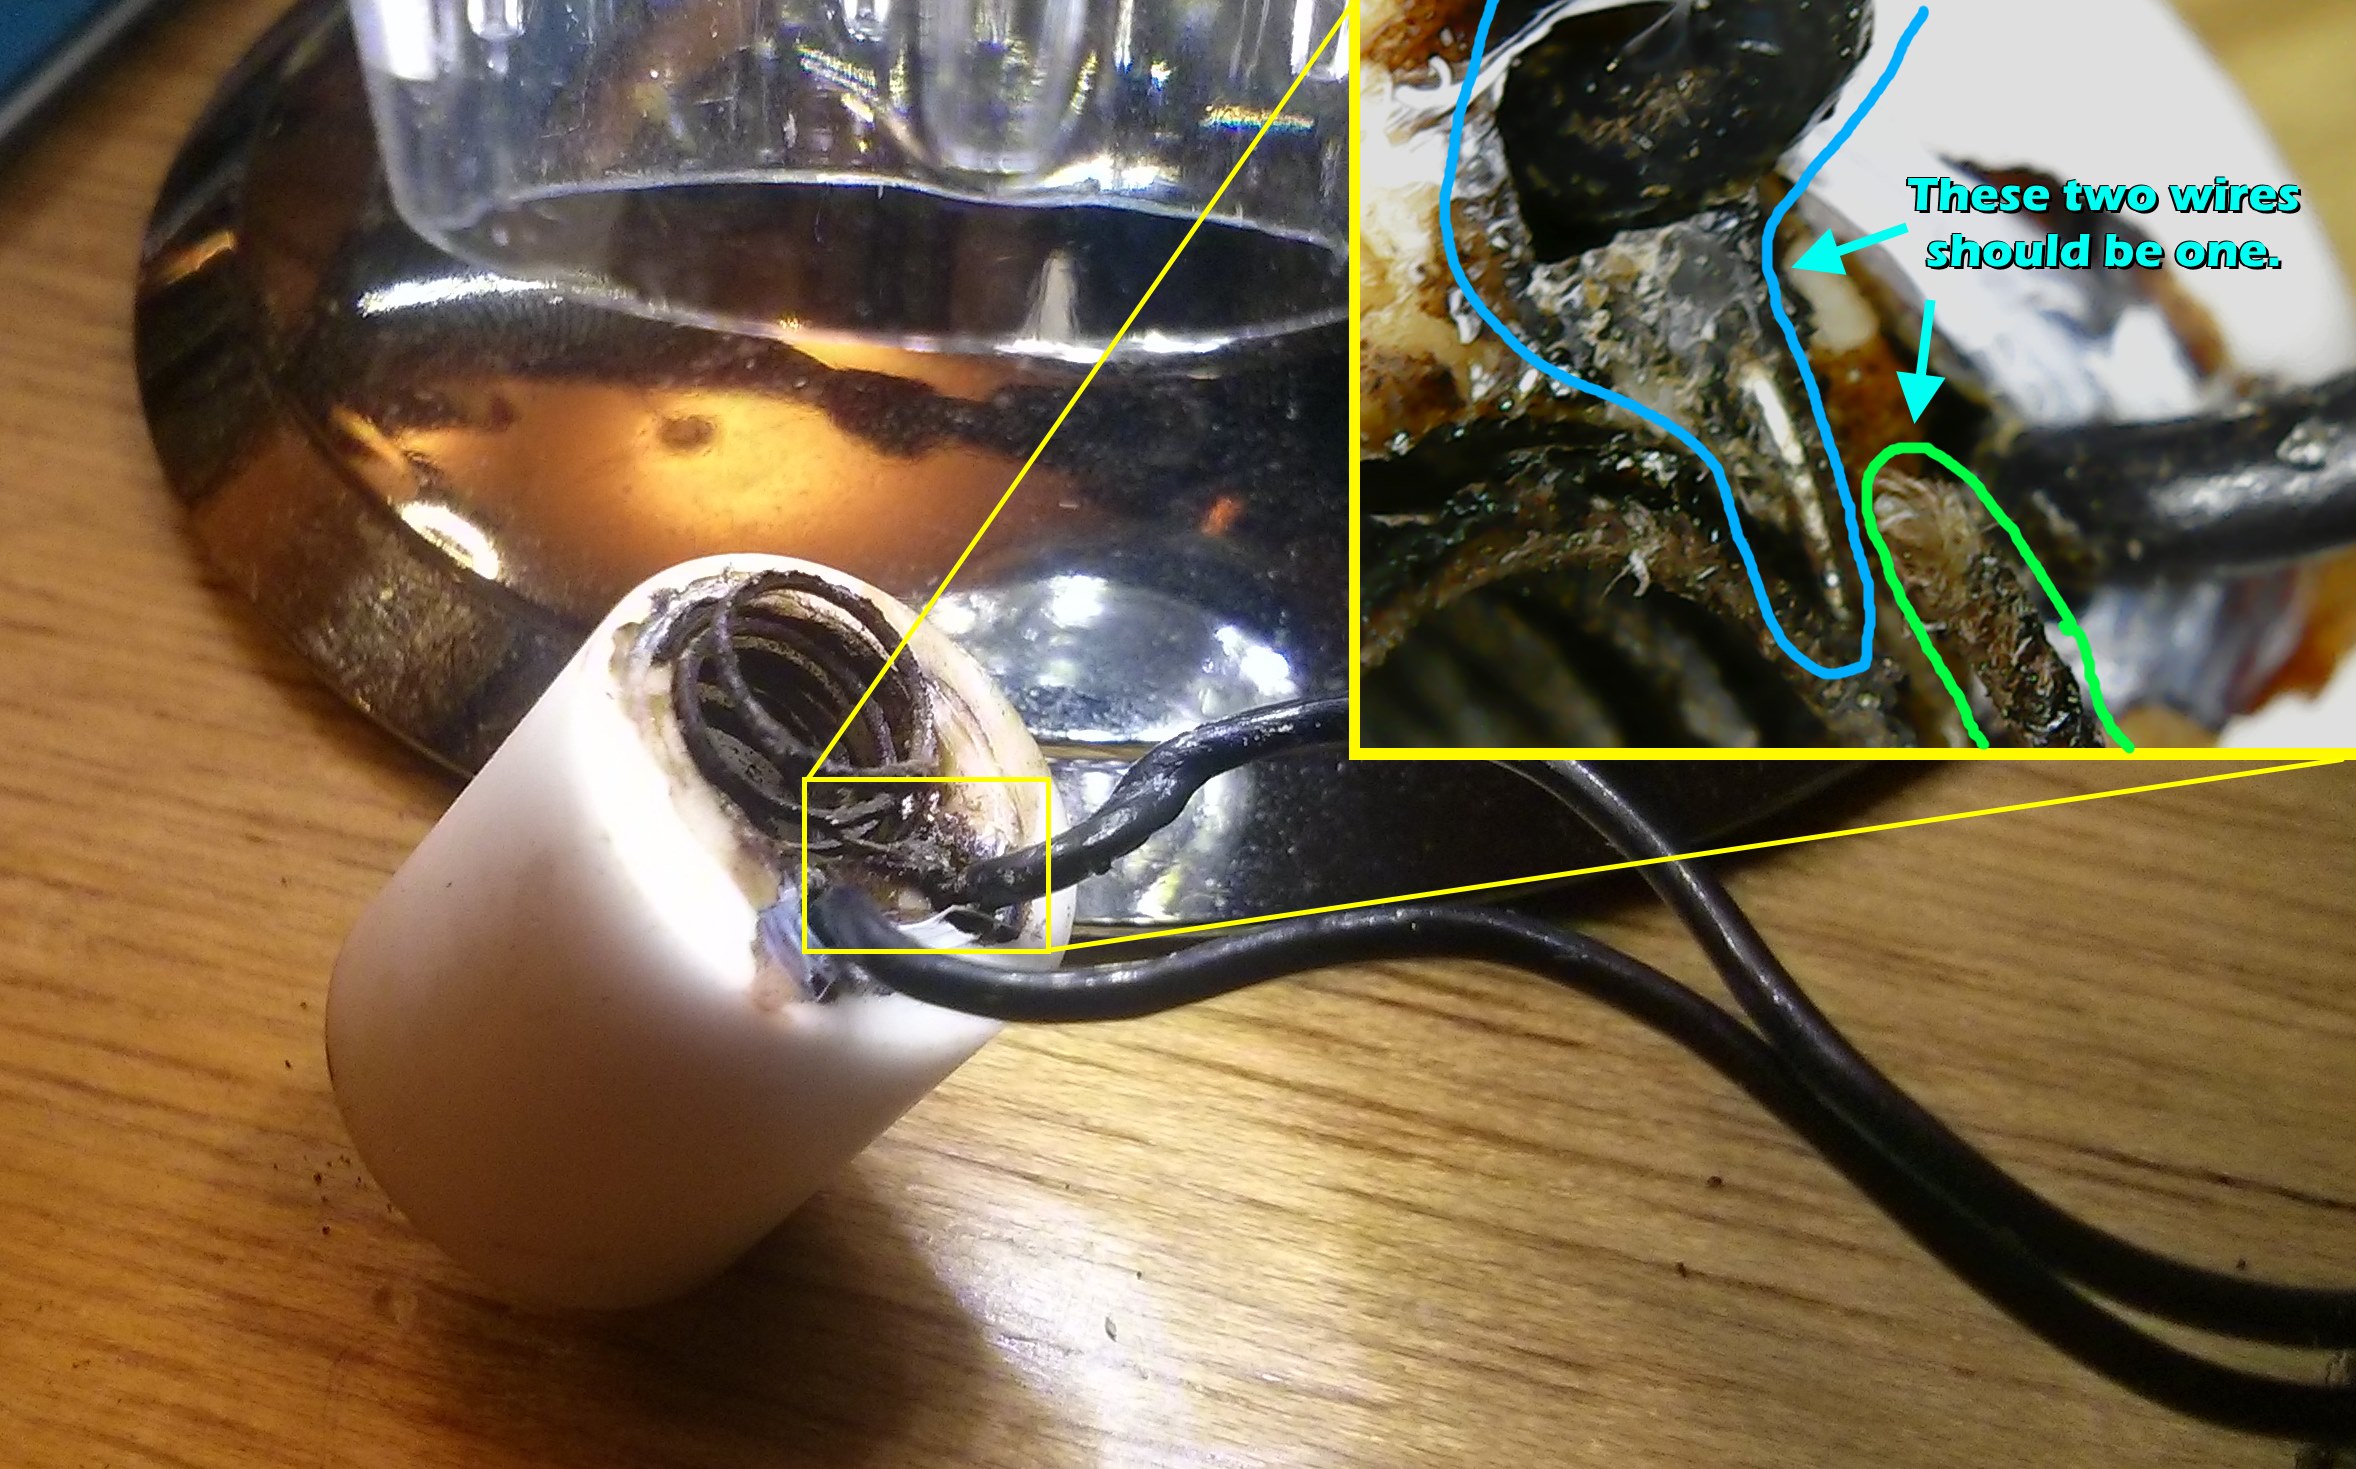
Unfortunately, the PrintrBot’s hot end assembly is also fairly proprietary, and also has an annoying flaw — the heater wires aren’t well protected, so if you tighten too much when swapping nozzles, they’ll break. This is double bad, because the hot end gets hot enough to melt normal solder, so you can’t even repair the break. Picture:
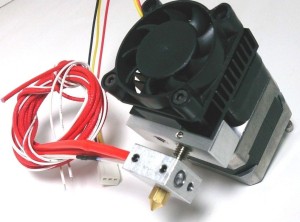 So it looked like I’d need a new heating element. Unfortunately, this is another area where PrintrBot is very far from standard — nobody else uses this kind of heating element, and the PrintrBot store wants $59 for a replacement. Meanwhile, the standard (as defined by cheap imports from China) is a small aluminum block with a heater cartridge and thermistor mounted inside of it (see right) that costs next to nothing. These hot ends are fully metric, with M6 threading for both the nozzle and shaft.
I happened to have one of these, so I had an Apollo-13-air-scrubber style problem: how do I get the Reprap-style M6-threaded heating element to graft onto the U.S. sized PrintrBot nozzle assembly?
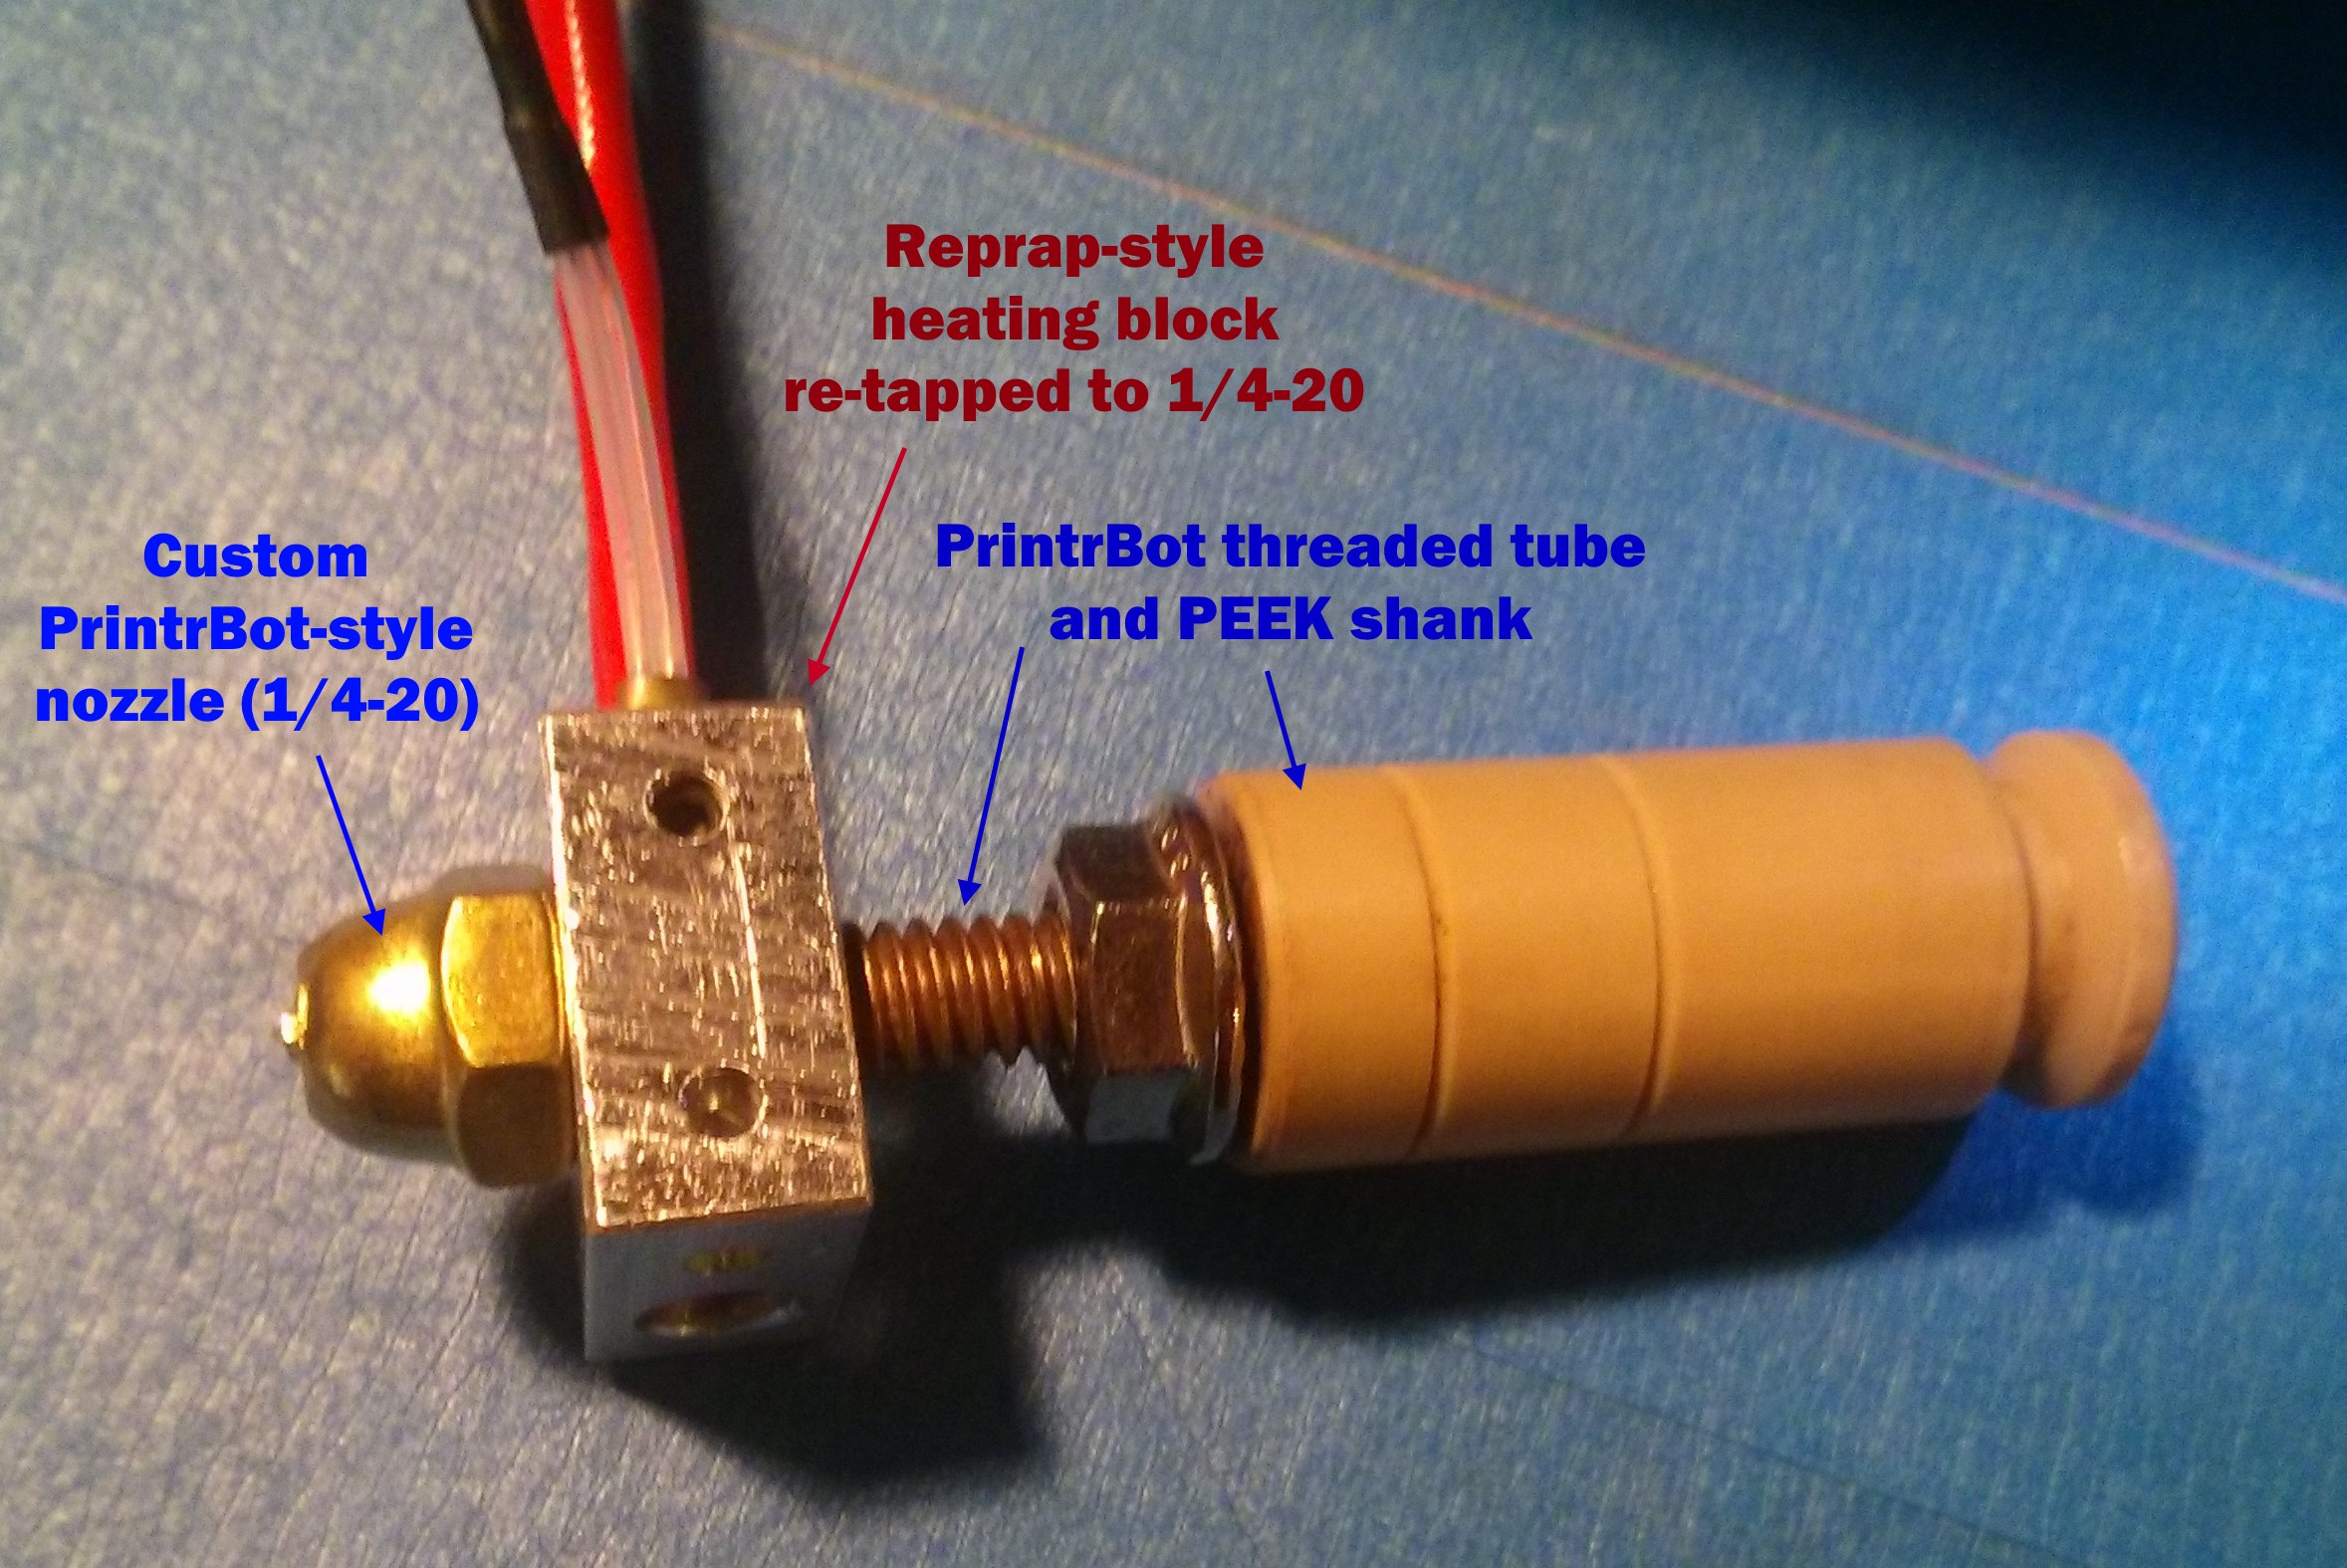
I tried several combinations to no avail, until I realized that I could re-tap the M6 hole in the Reprap-style heating block to 1/4-20. Then I could thread the entire PrintrBot hot end tube through it, reassemble it per usual, and be back in business! So that’s what I did…with just a minute with a 1/4-20 tap and a bench vice, I converted the heating block to be PrintrBot compatible:
To keep it tight, I used teflon table on the nozzle, and tightened the heating block against the nozzle itself. This has a bonus effect of heating the nozzle most effectively.
To hook up the connections, I just attached Dupont pins to the thermistor (female) and heater cartridge (male). The pins hook up fine, but I didn’t have the fancy PrintrBot-type connector housings. No matter – a bit of tape keeps them secured.
In the end, it worked! The only issue I had was that it had trouble staying at temperature — the heating block leaks heat like crazy, especially when the fan is on. To fix this, I wrapped it in a bit of PTFE threadlock tape, then a layer of Kapton tape to hold it:
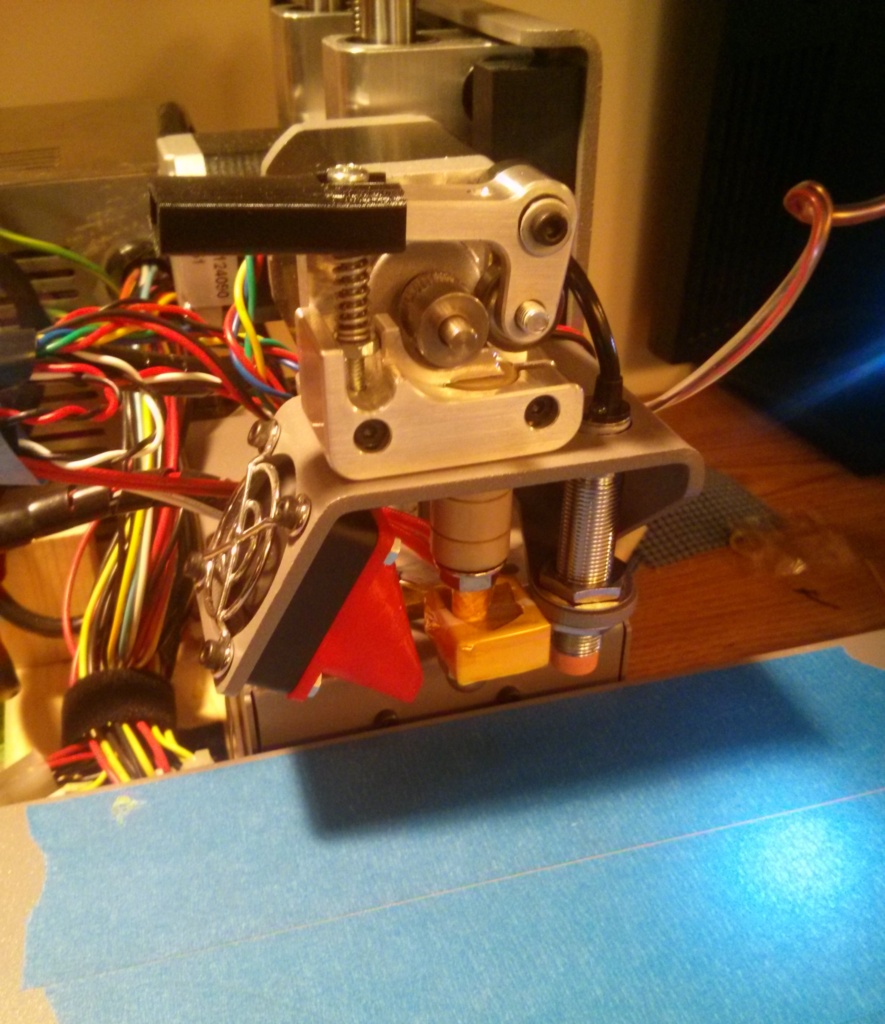
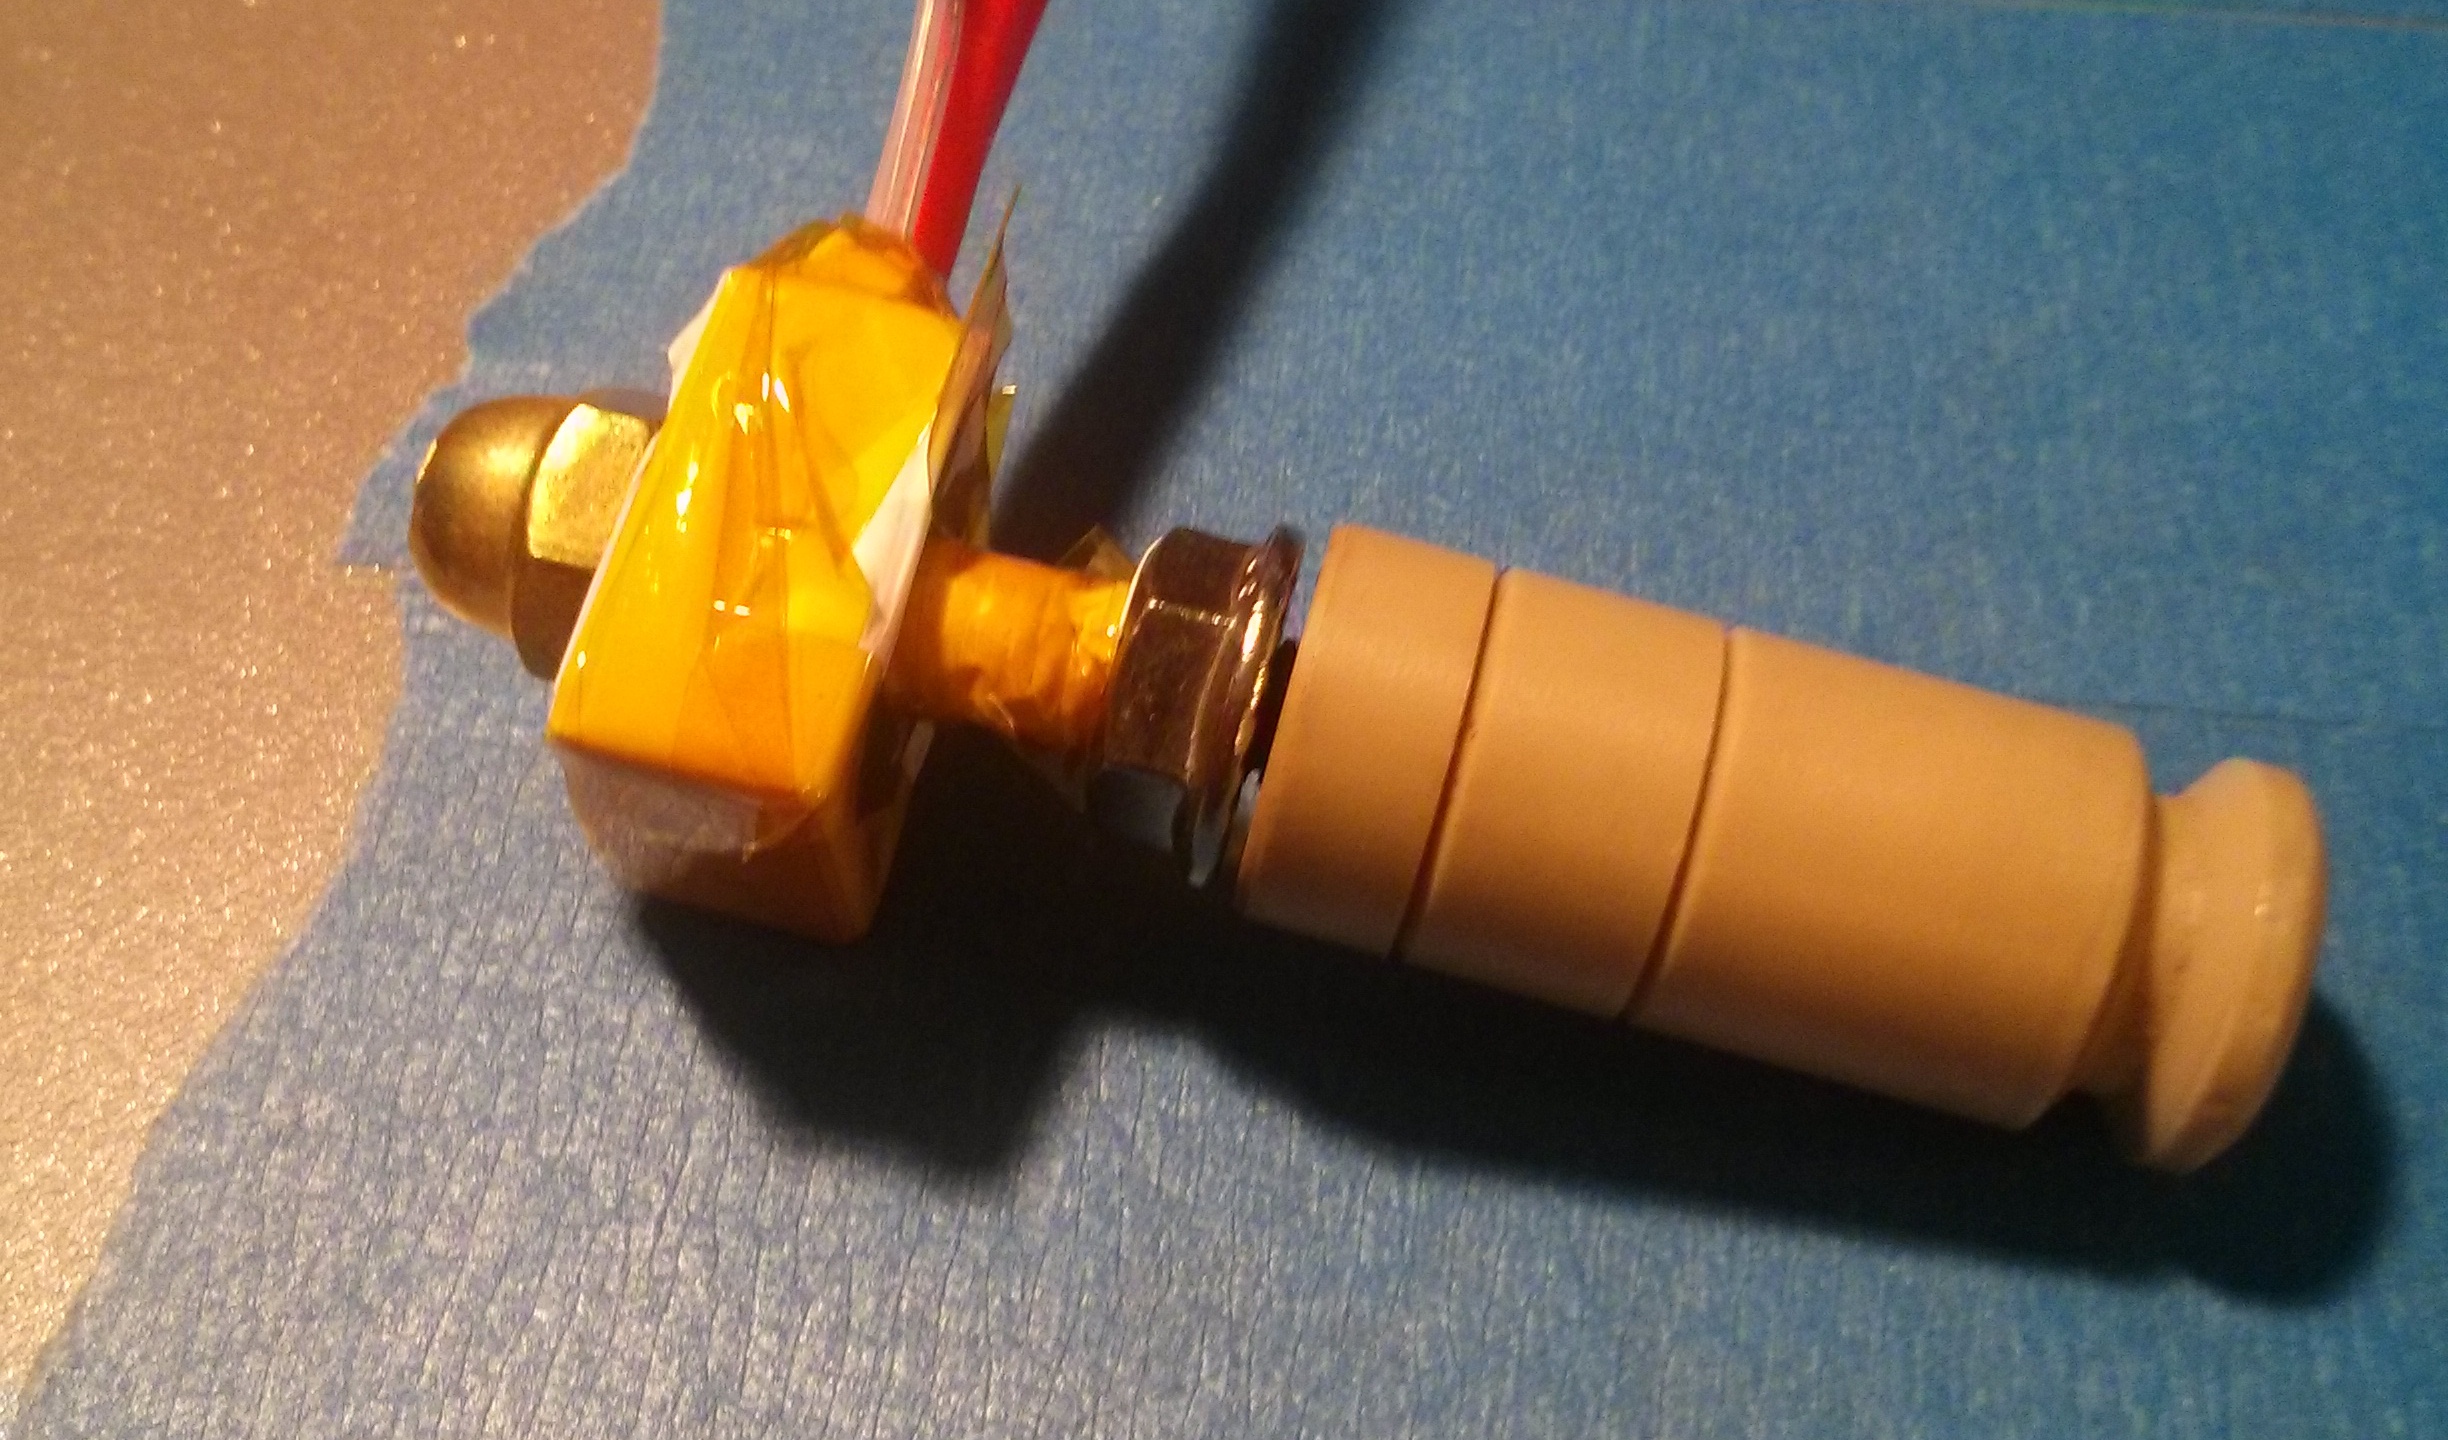 With this done, I remounted it, recalibrated a bit, and was kicking off prints!
 Side note: I also found an easier way to fabricate nozzles than the link I provided earlier. I just got some brass cap nuts, as the original directions prescribe, but instead of building a makeshift lathe, I just started by drilling the hole, then “milled” away excess material from around the outside of the hole freehanding with a dremel cutting disc. Knocked out a 0.5mm nozzle in about 5 minutes.

