A 3D printed knife block

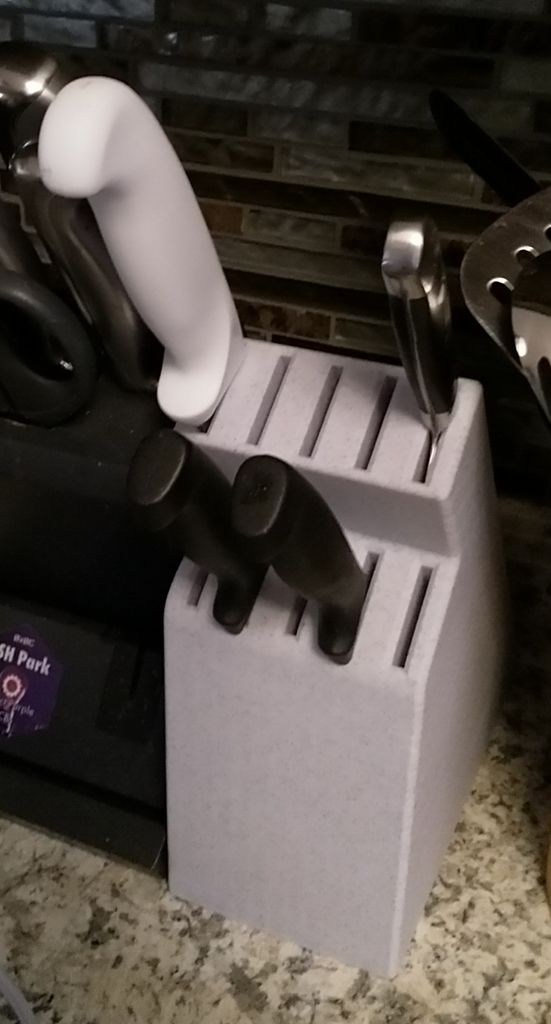
I recently got a few new knives, including a really long bread knife, and my old trash knife block didn’t fit them. I designed a new one.

Might be my longest print yet: 55 hours.

Printed in this marble filament.

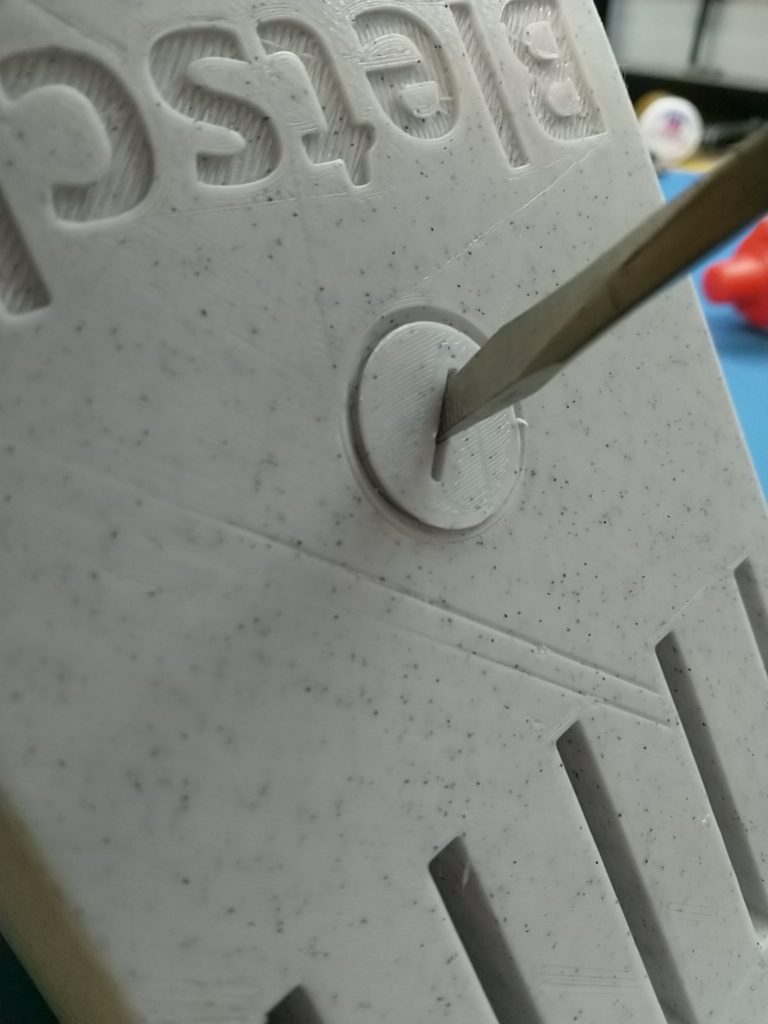
In order to give it some heft, it has an empty cavity in the front of it accessible via a small 3D printed threaded plug. I filled it with cheap BBs. Now it doesn’t slide around and feels similar to its commercially produced neighbor.

More pics:

Model files: STL file available on Thingiverse. CAD model available for cloning/editing on OnShape.

Open sourcing my little robot

Hey, all. I’m open sourcing my small competitive robot from last year, YellowBot_02, as well as a general-purpose chassis I designed based on it. All are shared as OnShape links (a web-based CAD that works like SolidWorks); you can export STLs from there or fork it and design further. The chassis is covered in a grid of 3mm holes at a 6mm distance; this makes it easy to design accessories in whatever CAD you like and attach with #6 or M3 screws and nuts (or even just zipties).

Last year’s MiniFRC robot, YellowBot_02, was discussed on this blog here. The CAD for it is available here. This CAD includes a mount for the Alfredo NoU and a battery (9V or 6xAA pack), as well a servo mechanism specific to that year’s game. Works with standard yellow gearmotors — they ziptie into the chassis.

Here’s a general purpose chassis I developed from that: ScienceBot. Same hole pattern, but in more places, and no big name on the back. I’m using this design for my undergraduate research students, too. Includes vertical mounts for an Arduino Uno plus Raspberry Pi (the latter not relevant to MiniFRC), a 3×18650 battery pack and 5V regulator (neither relevant to MiniFRC), and three MaxBotics ultrasonic sensors (probably not relevant to MiniFRC). Compatible with all the same mounts and motors as the YellowBot_02 chassis above.

If you want to DIY your wheels, here is a design for two-part wheels with the same dimensions as the stock yellow-and-black ones. There’s an inner hub designed to be printed in regular rigid PLA, and the wheel itself, which is meant to be printed in squishy TPU filament (also known as Ninjaflex).
You can get even better traction if you spray the outside of the wheel with PlastiDip.

Here’s a video tour of the old YellowBot that I did as part of a fabrication tutorial at Duke:

Here’s a video of the new ScienceBot chassis with the TPU wheels doing a motor test:

Showing off some vintage 1970s LEDs

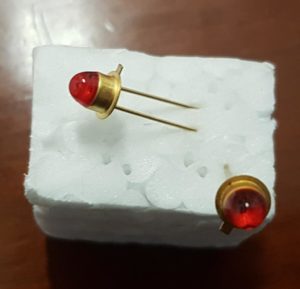
After seeing this video, I was inspired to hunt down and purchase some early-model LEDs. It turns out you can get Soviet-era gold-plated LEDs from the 1970s on eBay, so I grabbed some of these and made a little thing to show them off.

I did a bit of research to figure out what I had, including browsing scans of 70s Polish datasheets and translating a Polish Wikipedia article to research the now-defunct manufactuer, Unitra CEMI.

The LEDs came from a seller in the Czech Republic and arrived via registered mail (the kind you have to go to your post office to sign for). The actual LEDs are gold plated, and you can see the actual junction clearly inside the lens.

I put two of them into a breadboard with an ATtiny85 programmed in Arduino to do a simple alternating blink pattern. I designed a 3D-printed display to hold it, spliced some USB to power it, and made a little label to explain what the thing was, and now I have a neat little thing to put on the shelf.


A low-power, low-performance single-disk NAS for backup

I do in-house backups for my data, but the system that eats the data now is an all-in-one Intel Atom PC with a dying fan, and I don’t really trust it. Luckily we’re in the future, so fanless ARM-based computers are everywhere, so I built a little backup machine out of one. Details after the break.

Continue reading A low-power, low-performance single-disk NAS for backup

An Ocean-diving Rocket Pod Control System

Sorry I haven’t posted more. I have done some cool projects, but finding time to post has been hard. To help fill that gap, here’s a report I wrote up detailed a small chapter in my involvement with Team Blue Devil Ocean Engineering, which is Duke’s entry into the Ocean Discovery XPRIZE, a world-wide contest to develop the technology to map 500 km^2 of ocean floor in 24 hours. It presupposes some knowledge about the project, which you can find in this brochure or even these slides, or you can just dive in and have fun gawking at this crazy thing we built, sunk 2km deep in the ocean, retrieved, then debugged.

Details of an intense 48-hour effort to build an deep-ocean-survivable Arduino control circuit for underwater rockets is after the break. It was written as an after-action report for the project, so the language is a bit drier than usual, but I think it’s still a fun read.

Continue reading An Ocean-diving Rocket Pod Control System

Asinine “Cordless Broom” restored

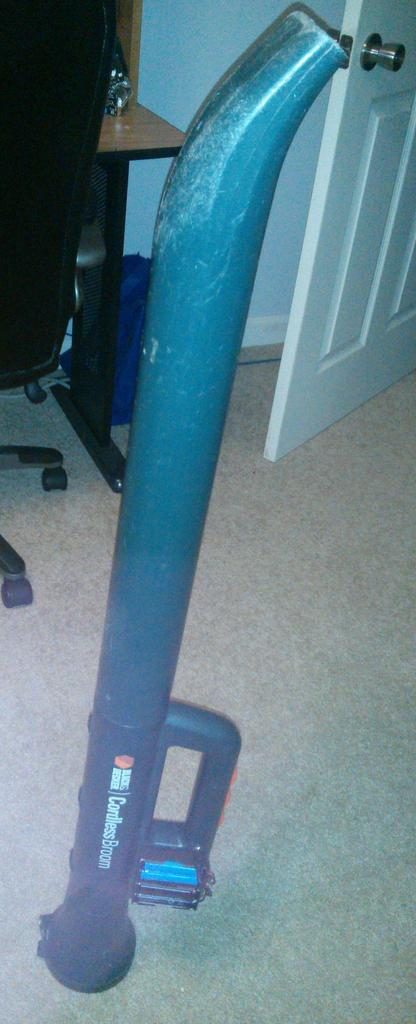
2016-10-12-23-49-53bA few years ago I got this ridiculous thing from a thrift store: the Black and Decker “Cordless Broom” (differentiated from regular brooms, which I guess somehow have cords???).

It’s basically a really weak leaf blower, but it looks like a giant bazooka, and it was $5 at the time.

versapakIt runs on obsolete “VersaPak” batteries, which were part of a proprietary tool battery system from at least 10 or 15 years ago. I had an old electric screwdriver that ran on one of these around then. Each battery was a 3.6V NiCd pack, and this unit uses two of them at once to run at 7.2V.

I wanted to revive it, but I wasn’t going to be hunting down decade-old batteries on ebay to do so. I decided to use 18650 rechargable Li-ion cells (the same kind used in laptop batteries) because they’re 3.7V each (close to the original’s 3.6V) and I had a bunch lying around.

I popped the housing apart, drilled a hole in the side, and added a 2.1×5.5mm panel-mount female DC barrel jack that hooks to where the VersaPaks would connect in. Now I could power it from my bench power supply to verify it worked, and it did.

My first attempt at a battery solution was a single pair of 18650 cells in a cheap ebay case. This worked, except the wires that came pre-soldered to the battery case were a very small gauge, and I actually felt these wires heating up when I used it. This was no good – I was a bunch of my power to wire resistance! Also, the thing ran the pair of 18650s down pretty quick.

I don’t have any pictures of any of that because I did that part a long time ago, then lost interest. Recently, I felt like doing a little project, and the thing was sitting here, so I finally finished it.

2016-10-12-23-49-21bI got two new two-cell battery cases, and snipped their tiny pre-soldered wires. I soldered on good 22 AWG wires direct to the outputs, and hot-glued the wires for mechanical strength. I ran both sets of battery pack wires to a single male DC barrel plug, so as to run two pairs in parallel (2S2P in battery-people speak). I screwed the two cases to the housing (there’s plenty of room to screw into where the VersaPaks used to plug in) and plugged it in, and presto. No more warm wires and much better battery life.

I like this thing because it can quickly blow sawdust and stuff in the shop without sending screws and heavier stuff flying around. Also, Reginald is terrified of it.

2016-10-12-23-50-48b

MPCNC: Portable and Wifi-enabled

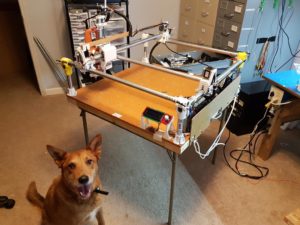
2016-07-30 20.28.30bI’ve come to realize that I can’t run the MPCNC in my office — it just kicks out too much dust. I could add a vacuum, but I bet there’d still be a bunch kicked off. Therefore, I’ve modified the machine to be portable and wifi-enabled, so I can take it to the shop out back.

To do this, I’ve done three main things:

  1. Attached a Raspberry Pi running OctoPrint, with configuration made so I can upload gcode via a Windows share (samba).
  2. Added handles to either side, and eyelets with rope for a shoulder sling, allowing it to be tipped over, collapsed, and carried out by myself.
  3. Protected the electronics with a removable cover made of hardboard.

Details after the break if you’re interested.

Continue reading MPCNC: Portable and Wifi-enabled