NOTE: Everything involved in this post is available for download here.
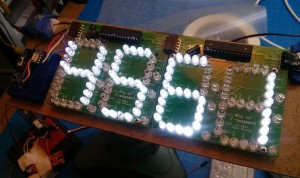
 I while back, I made this PCB that acts as a big daisy-chainable two-digit 7-segment display using the WS2803D and discrete LEDs. The pic to the right is a shot of the first use of these PCBs: a big sign that says “4561”.
It works great, interfaces easily with AVR/Arduinos, and is cheap to build.
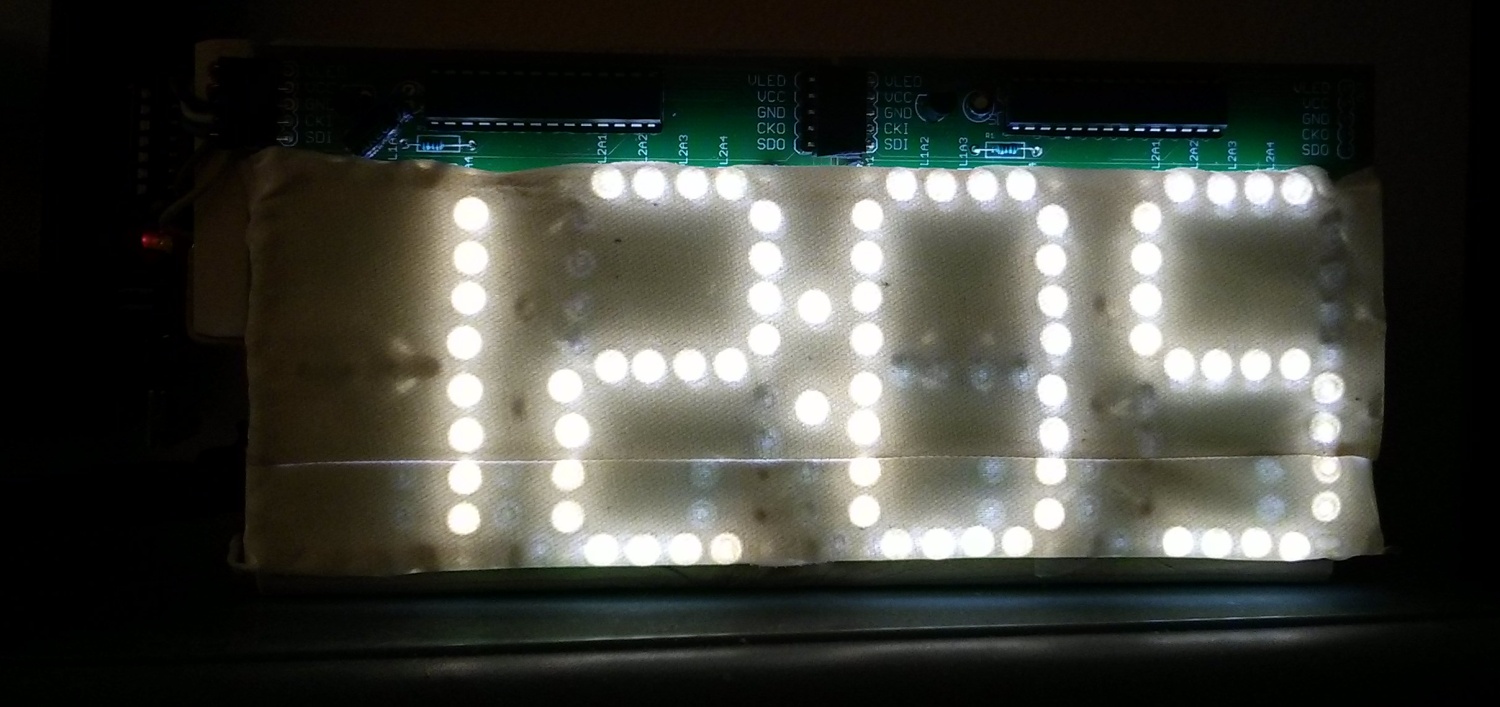
One thing that’s not great about it is the amount of light leakage from the LEDs — if you put some kind of light diffuser in front of it, you see all kinds of reflected and refracted bits of light. Here’s a shot of a clock I made out of these boards with white gaffer tape as a diffuser:
Look at all those random patterns of light…it’s shameful.
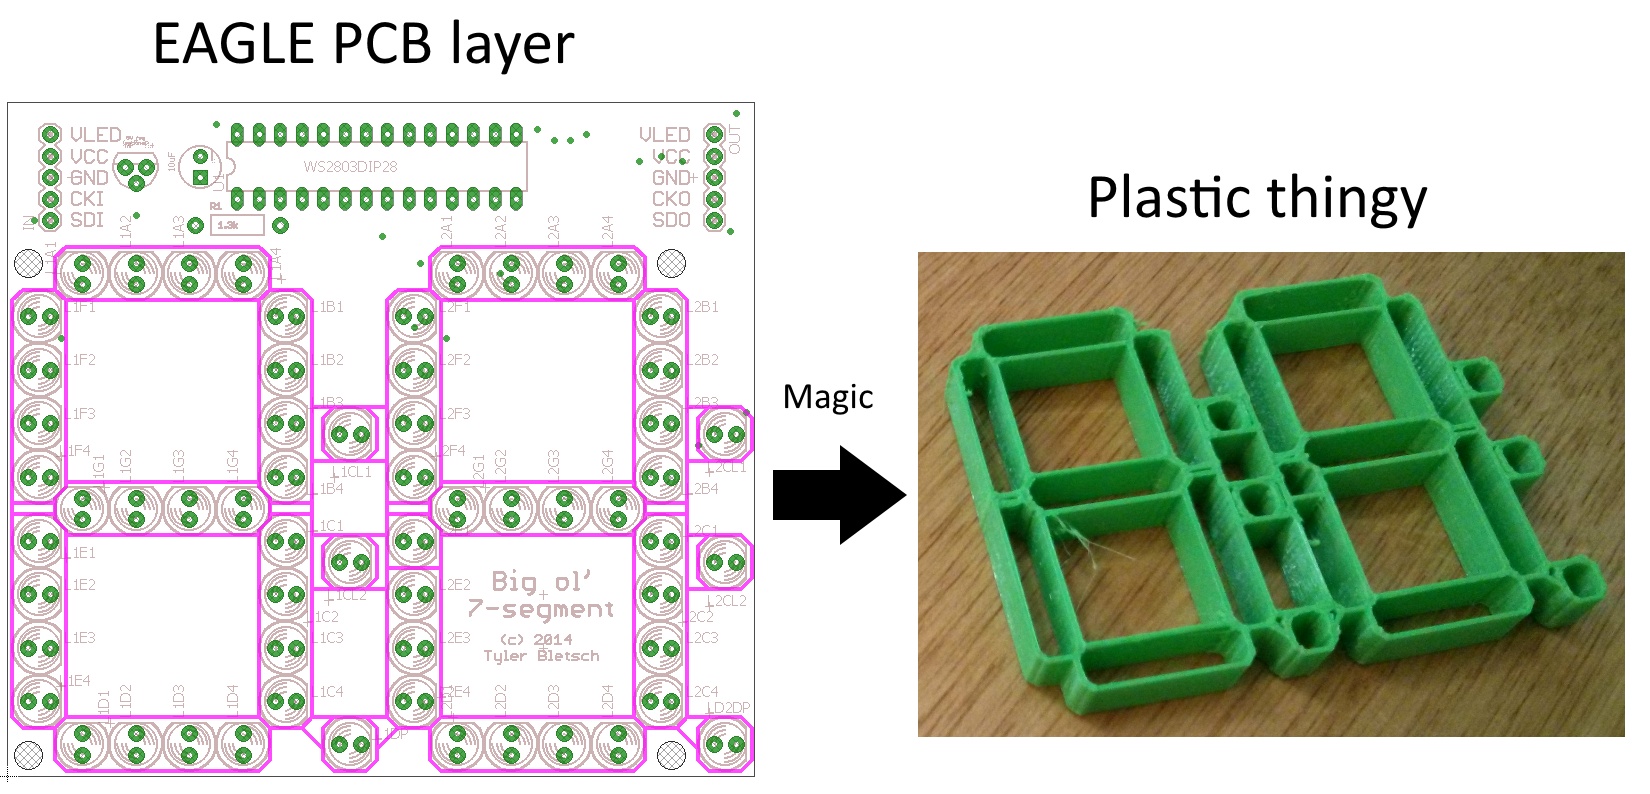
Today I figured out a simple way to 3D print a light mask for this board using design elements straight out of EAGLE! Here are the high-level steps:
- In a new layer in your EAGLE board layout, draw the stuff you want to 3D print.
- Do a series of conversions to get that EAGLE layer turned into an OpenSCAD script and then a STL for printing.
- Print, jam on board, enjoy a better looking display.
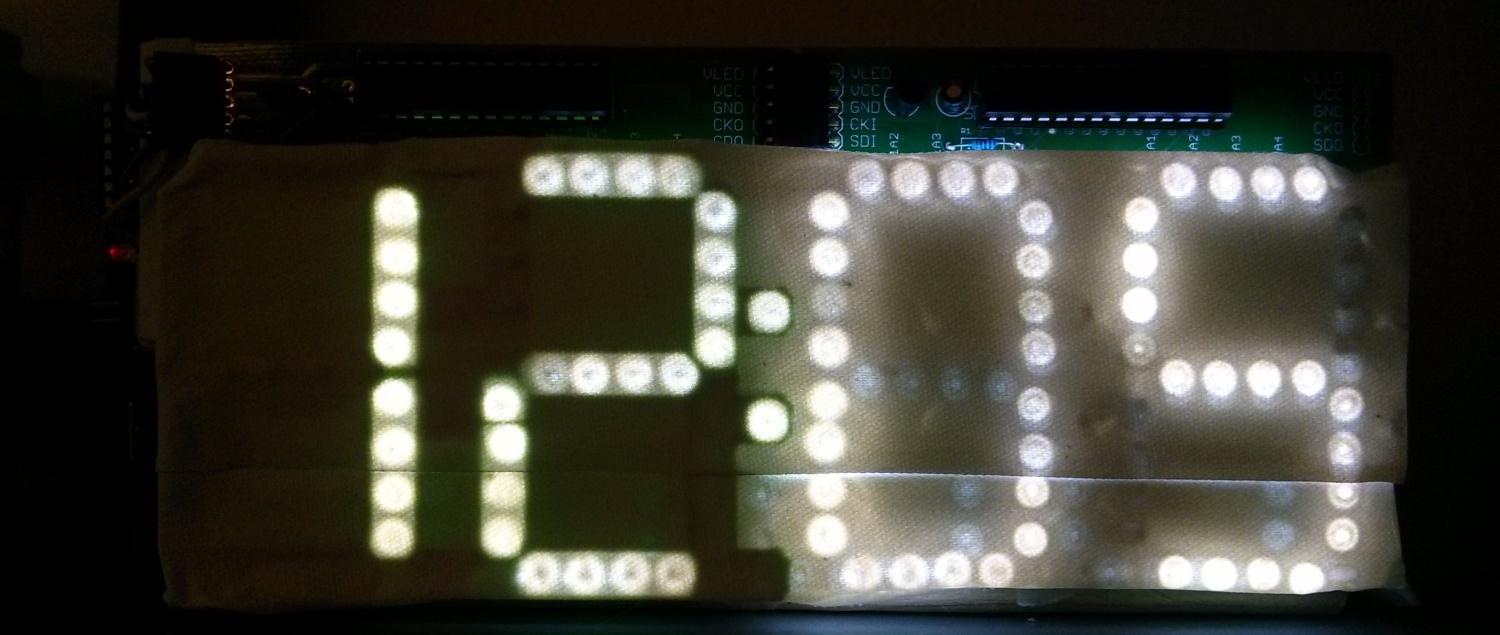
Here’s a shot of the light mask applied to the left two digits of the clock:
Full directions after the break. Continue reading Generating 3D-printable pieces directly from EAGLE PCB designs


