An Ocean-diving Rocket Pod Control System

Sorry I haven’t posted more. I have done some cool projects, but finding time to post has been hard. To help fill that gap, here’s a report I wrote up detailed a small chapter in my involvement with Team Blue Devil Ocean Engineering, which is Duke’s entry into the Ocean Discovery XPRIZE, a world-wide contest to develop the technology to map 500 km^2 of ocean floor in 24 hours. It presupposes some knowledge about the project, which you can find in this brochure or even these slides, or you can just dive in and have fun gawking at this crazy thing we built, sunk 2km deep in the ocean, retrieved, then debugged.

Details of an intense 48-hour effort to build an deep-ocean-survivable Arduino control circuit for underwater rockets is after the break. It was written as an after-action report for the project, so the language is a bit drier than usual, but I think it’s still a fun read.

Continue reading An Ocean-diving Rocket Pod Control System

Cheap 3D pen actually works

I’m shocked to say this, but the cheap $20 knockoff “3D pens” from China actually work, at least as well as you’d expect such a thing to work.

These pens are basically little 3D printer heads in pen form that let you extrude PLA or ABS plastic in 3D space. It heats in about 30 seconds, extrudes with good consistency with controllable speed, runs on the same cheap 1.75mm filament as a printer, and the extruded plastic can actually stand up. It works best you have a fan going over the work area to cool the extruded stuff faster, and you need a bit of a blob for the base to keep it stuck, but you can actually draw into 3D space with it. At the base, getting adhesion is similar to 3D printing: masking tape (especially cleaned with alcohol) is a good surface.

I’m not sure how many 3D creations I’d make from scratch with this, but it seems absolutely fantastic for touching up or repairing 3D prints.

UPDATE: You can even make (very) light-duty brackets.

UPDATE 2: You can also use it to make fridge magnets of dubious artistic merit.


Asinine “Cordless Broom” restored

2016-10-12-23-49-53b
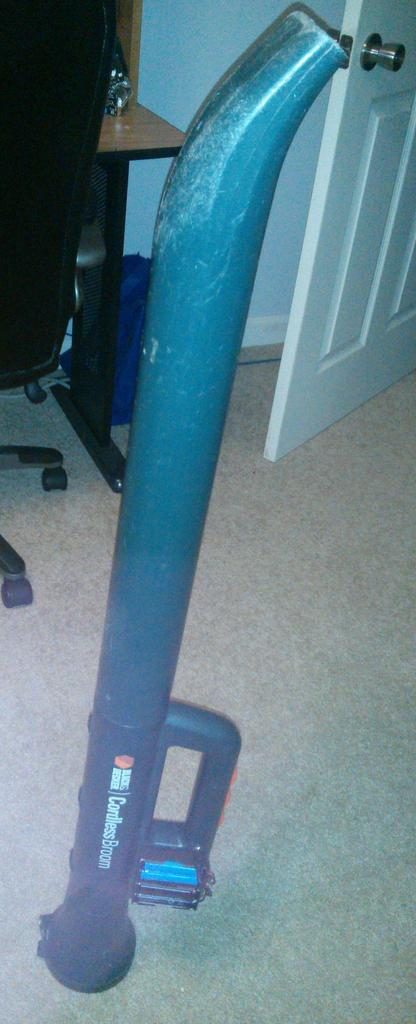
A few years ago I got this ridiculous thing from a thrift store: the Black and Decker “Cordless Broom” (differentiated from regular brooms, which I guess somehow have cords???).

It’s basically a really weak leaf blower, but it looks like a giant bazooka, and it was $5 at the time.

versapakIt runs on obsolete “VersaPak” batteries, which were part of a proprietary tool battery system from at least 10 or 15 years ago. I had an old electric screwdriver that ran on one of these around then. Each battery was a 3.6V NiCd pack, and this unit uses two of them at once to run at 7.2V.

I wanted to revive it, but I wasn’t going to be hunting down decade-old batteries on ebay to do so. I decided to use 18650 rechargable Li-ion cells (the same kind used in laptop batteries) because they’re 3.7V each (close to the original’s 3.6V) and I had a bunch lying around.

I popped the housing apart, drilled a hole in the side, and added a 2.1×5.5mm panel-mount female DC barrel jack that hooks to where the VersaPaks would connect in. Now I could power it from my bench power supply to verify it worked, and it did.

My first attempt at a battery solution was a single pair of 18650 cells in a cheap ebay case. This worked, except the wires that came pre-soldered to the battery case were a very small gauge, and I actually felt these wires heating up when I used it. This was no good – I was a bunch of my power to wire resistance! Also, the thing ran the pair of 18650s down pretty quick.

I don’t have any pictures of any of that because I did that part a long time ago, then lost interest. Recently, I felt like doing a little project, and the thing was sitting here, so I finally finished it.

2016-10-12-23-49-21bI got two new two-cell battery cases, and snipped their tiny pre-soldered wires. I soldered on good 22 AWG wires direct to the outputs, and hot-glued the wires for mechanical strength. I ran both sets of battery pack wires to a single male DC barrel plug, so as to run two pairs in parallel (2S2P in battery-people speak). I screwed the two cases to the housing (there’s plenty of room to screw into where the VersaPaks used to plug in) and plugged it in, and presto. No more warm wires and much better battery life.

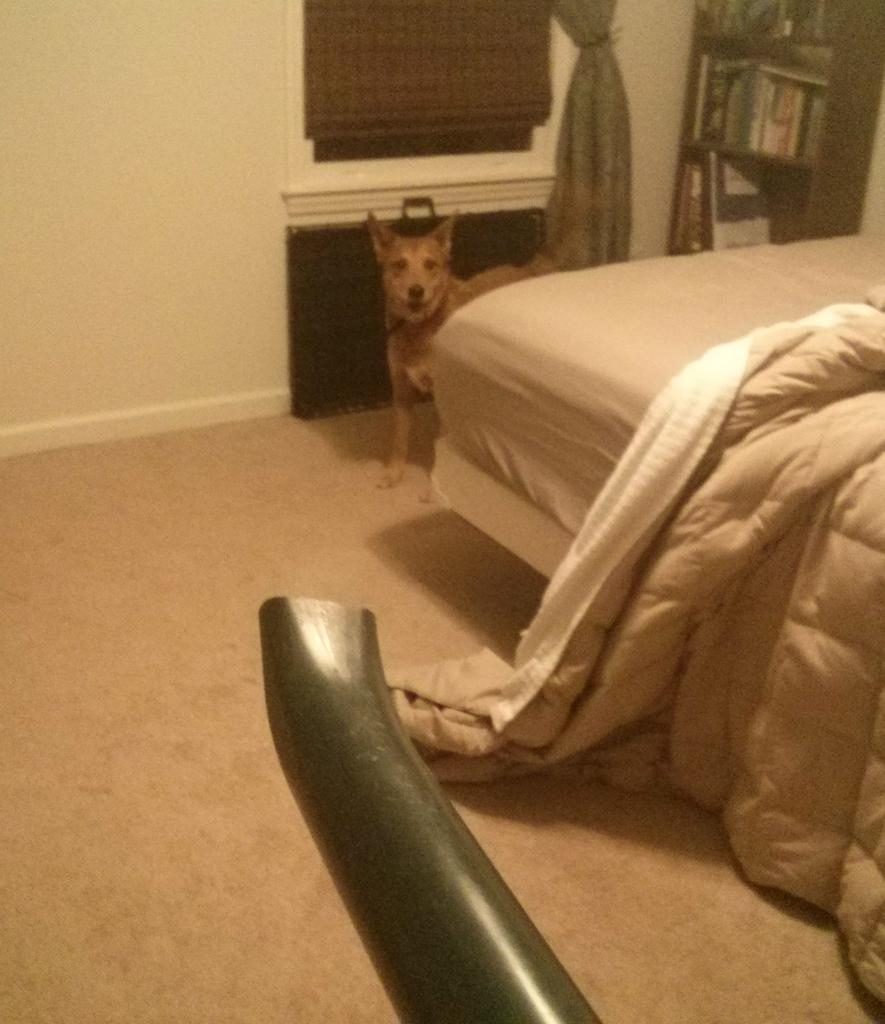
I like this thing because it can quickly blow sawdust and stuff in the shop without sending screws and heavier stuff flying around. Also, Reginald is terrified of it.

2016-10-12-23-50-48b

MPCNC: Portable and Wifi-enabled

2016-07-30 20.28.30bI’ve come to realize that I can’t run the MPCNC in my office — it just kicks out too much dust. I could add a vacuum, but I bet there’d still be a bunch kicked off. Therefore, I’ve modified the machine to be portable and wifi-enabled, so I can take it to the shop out back.

To do this, I’ve done three main things:

  1. Attached a Raspberry Pi running OctoPrint, with configuration made so I can upload gcode via a Windows share (samba).
  2. Added handles to either side, and eyelets with rope for a shoulder sling, allowing it to be tipped over, collapsed, and carried out by myself.
  3. Protected the electronics with a removable cover made of hardboard.

Details after the break if you’re interested.

Continue reading MPCNC: Portable and Wifi-enabled

MPCNC: Lumber ID

If you’re like me, you live in constant fear of criminals breaking into your backyard shed and stealing your valuble scrap pieces of 2×4. Well, worry no longer:

2016-07-16 22.31.51

Now you can protect your lumber scraps by engraving your name in giant letters across every individual piece, thanks to the MPCNC.

MPCNC: new pen holder and trochoidal milling

2016-07-16 13.17.14bI improved the Z coupling, made a much better pen holder, and discovered trochoidal milling, which, in addition to making actual milling easier, draws cool pictures if used with a pen.

The pen holder was actually somewhat complex. The pen I wanted to use was a Bic 4-color, and its barrel has a very slight taper to it, so I had to model it fairly precisely and it took two prints to get the dimensions right. Now that it’s done, though, I can get really nice, repeatable drawings. I’m thinking of developing an algorithm to convert images into combinations of the pen’s four colors and emit gcode to approximate color printing. It will be ugly due to color theory (there’s a reason printers use cyan/magenta/yellow/black), but it might look neat.

Video/pic:

db-tor

MPCNC: it drew this

The MPCNC with my rudimentary pen holder was able to draw this. I need to add some kind of spring downforce on the pen to deal with small differences in depth (which is why the lower left is faded). That should also help with pen accuracy, because on the high parts it’s grinding the pen too hard against the page and its getting stuck. I  also need to turn up my overlap to get it to solid fill better.

draw1