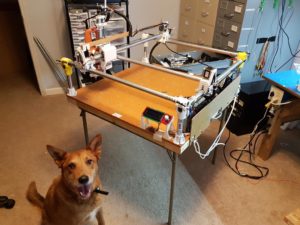
 I’ve come to realize that I can’t run the MPCNC in my office — it just kicks out too much dust. I could add a vacuum, but I bet there’d still be a bunch kicked off. Therefore, I’ve modified the machine to be portable and wifi-enabled, so I can take it to the shop out back.
To do this, I’ve done three main things:
- Attached a Raspberry Pi running OctoPrint, with configuration made so I can upload gcode via a Windows share (samba).
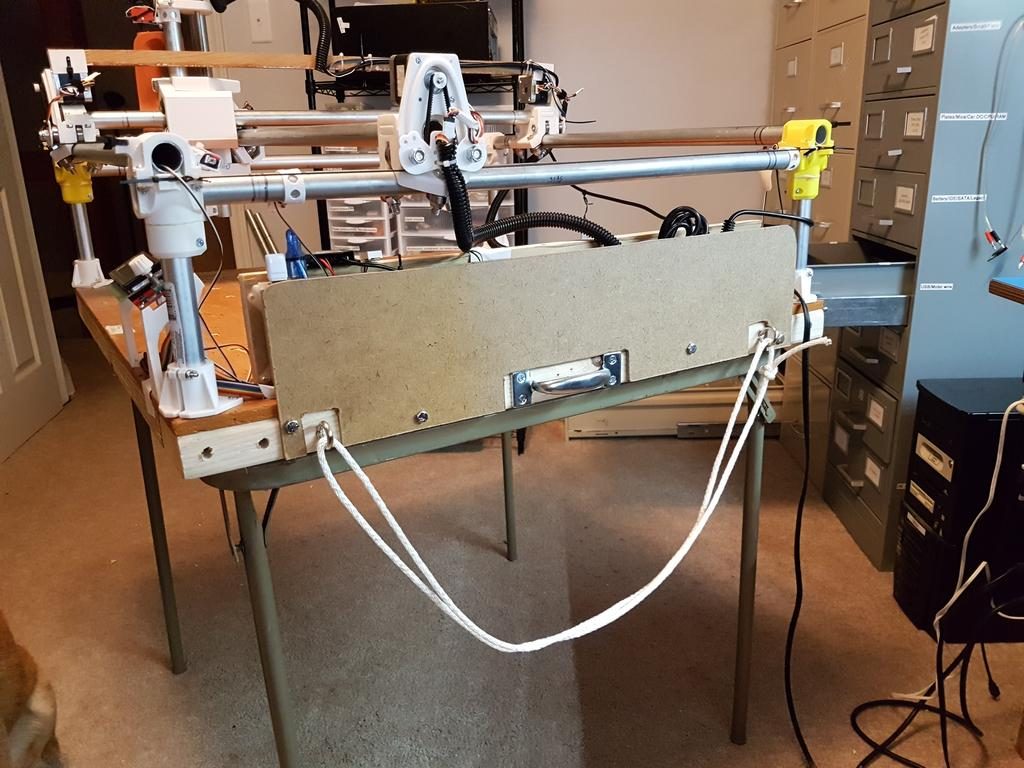
- Added handles to either side, and eyelets with rope for a shoulder sling, allowing it to be tipped over, collapsed, and carried out by myself.
- Protected the electronics with a removable cover made of hardboard.
Details after the break if you’re interested.
Here were the steps in getting the Pi connected:
- Hardware/OS:
- Get a Pi. I had a Pi 2 model B+ from an earlier project, but any would do (including the Zero, I think).
- Put it in a case. Mine was already in a 3D-printed case from before (this one), but there are roughly one billion Pi cases on Thingiverse if you need one.
- Add a USB wireless dongle (unless you’re using the Raspberry Pi 3, whcih has wifi onboard).
- Write the “Octopi” image onto an SD card — this is a pre-baked Linux image with Octoprint already set up.
- Set up wifi as described on the octopi page.
- Do basic first-boot stuff (set password, etc.)
- (Side journey: the USB wifi dongle I tried first was either malfunctioning or required more power than the Pi can provide, so I spent about an hour debugging intermittant wifi before switching dongles.)
- To enable share-based uploading of gcode:
- Do “
sudo apt-get install samba” to install samba. - Edit the samba config (“
sudo nano /etc/samba/smb.conf“) and insert these shares:[gcode] path = /home/pi/.octoprint/watched guest ok = yes writable = yes force user = pi create mask = 0600 directory mask = 0700 [timelapse] path = /home/pi/.octoprint/timelapse guest ok = yes writable = no - Reboot (“
sudo reboot“) or restart samba to enable (“sudo service samba restart“)
- Do “
- Wiring:
- Once you’re happy with the software setup, we need to wire it to the MPCNC.
 For power, you need a high-capacity source of 5V (at least 2A). The 5V available on the Arduino/RAMPS will not be enough. For this, I spliced a 12V-to-5V converter rated for 3A to the 12V input to the RAMPS board (Amazon source, ebay overseas source). There are a lot of ways to wire it, but I ended up soldering a male DC barrel jack off of the power input, a female DC barrel jack to the converter, and a dupont connectors to the output of the converter so I could power the Pi via the its GPIO ports. See highly professional diagram, right.
- For signal, just run a USB from the Pi to the Arduino.
- Usage:
- Once done, you can visit the web interface to upload gcode, start/stop jobs, and manually manipulate the machine. NOTE: You shouldn’t just start jobs remotely and hope for the best — you need to monitor CNC jobs in person! However, this will let you work on your milling program in a different place from the actual machine (such as an air-conditioned office instead of a sweltering outdoor shed).
Final Pi setup:
Compared to the Pi, the handles/strap were easy. Handles are just two heavy-duty gate handles from Lowes. The strap is just two lag eyelets and 6 feet of rope, both rated to 75+ lbs (just in case). As mentioned way in the beginning of the blog series, the table I have it mounted on has collapsible legs, so once you tip it on its side, you can fold the legs in, sling it on your shoulder, and head out.
The protective shield is just a 26″x8″ hunk of hardboard with cutouts for the eyelets and handle. To allow it to be easily removed for maintenence, instead of woodscrews, it’s bolted to the frame with 1/4-20 bolts into threaded inserts.
Final result:


