
I was building a little robot, and I wanted belt-driven four-wheel drive using GT2 belt (an inexpensive timing belt common in 3D printers). The problem: I only had bulk GT2 belt, not closed loops (see extremely advanced diagram on right).
For my first attempt, I used end-slips to cut out the teeth from part of the belt, then super-glued it to the back of the other side. This works okay, but the joint was very inflexible owing to the near doubling of the thickness, and it eventually came apart after a few days use.
I’ve since found a better solution. What we need is a backing: a material I could adhere to the back of both sides of the belt, and which would be strong, flexible, and compatible with superglue.
I found such a substance in my trash can! When you buy 3D printing filament, it usually  comes vacuum-sealed in clear plastic to keep it dry. The parts of this plastic that have been heat-pressed together are strong and flexible without stretching — it’s the perfect belt backing!
So I cut a narrow strip and super-glued it to the back of one end of the belt. Superglue dries hard, so I put down the glue in stripes so that the belt would still be flexible. After it dried a little, I glued the other end of the belt on, making sure to provide glue at the joint itself as well.
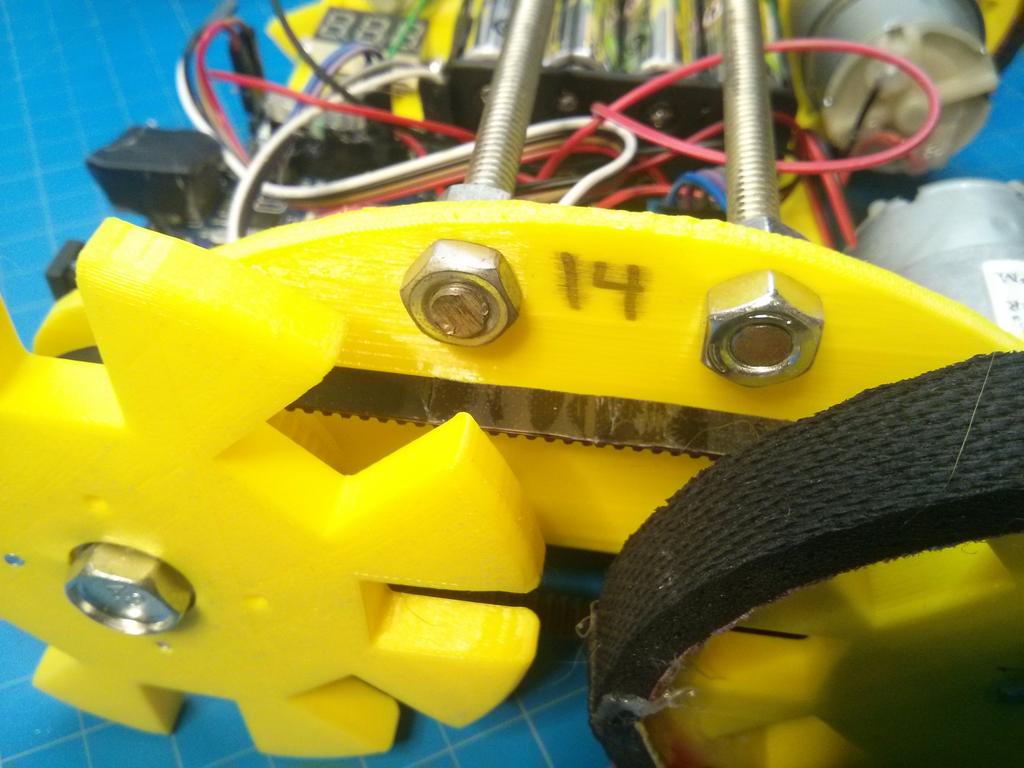
I let it dry under a weight for a few minutes, and the joint came out almost as flexible as the belt itself. The resulting bond has no give when stretched, goes over pulleys well, and survived the maximum tension I could put on the pulley by hand.
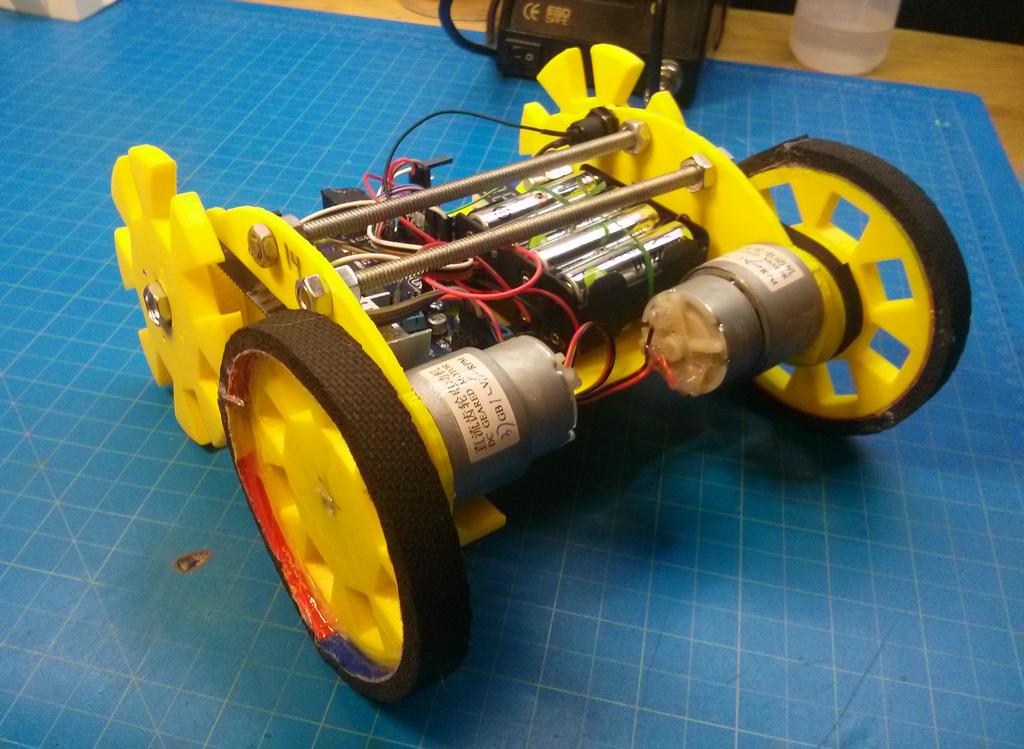
Pictures of belt on the end result (a little yellow robot):


Pingback: Little yellow robot in one day | Disc Space