 In this article I’ll show a simple 3D design for a servo mount to control a light switch for about $3, plus some electronics to drive it with a neat little interface. This article explains how I used it to regulate my air conditioner, but the basic bracket allows control of any U.S. standard wall switch.
I just moved into a new office and there’s a window-mounted air conditioner. There’s a remote control to set the target temperature, but the unit isn’t smart enough to turn off at night. Instead, there’s a physical wall switch so you can turn it off with your actual physical hands, like a barbarian.

I’m not going to put up with a hot office in the morning, nor will I let the unit blow cold air all night and weekend when nobody’s around. Instead, I will Build Some Crap.
Details after the break.
First, I designed a simple bracket in SketchUp to be 3D printed. It uses the normal lightswitch faceplate screws to hold a cheap 9g servo next to the switch to flip it on command.
To export to STL, I used 3D Button, which is a web service that can repair SketchUp-based models to make them 3D printing ready, which is useful because SketchUp tends to butcher 3D forms when you ask it to emit an STL with the usual plugin. Note that 3D Button wants you to print through them using a mail-order 3D printing place, but they’ll still let you download the repaired STL file yourself. The 3D design is on Thingiverse.
Anyway, here’s the initial design:

The screws go into slots, which allow you to fine-tune the location of the servo. The horn on the servo is the straight kind (===O===), which will be perfectly vertical when not flipping the switch. This means you can still totally use the switch normally without interference. The servo can turn -90 or +90 degrees to hit the switch on command. The rotation radius is shown as the white disc above. The servo in question is the cheap, tiny 9g servo often sold under the Tower Pro brand name (Amazon, Ebay).
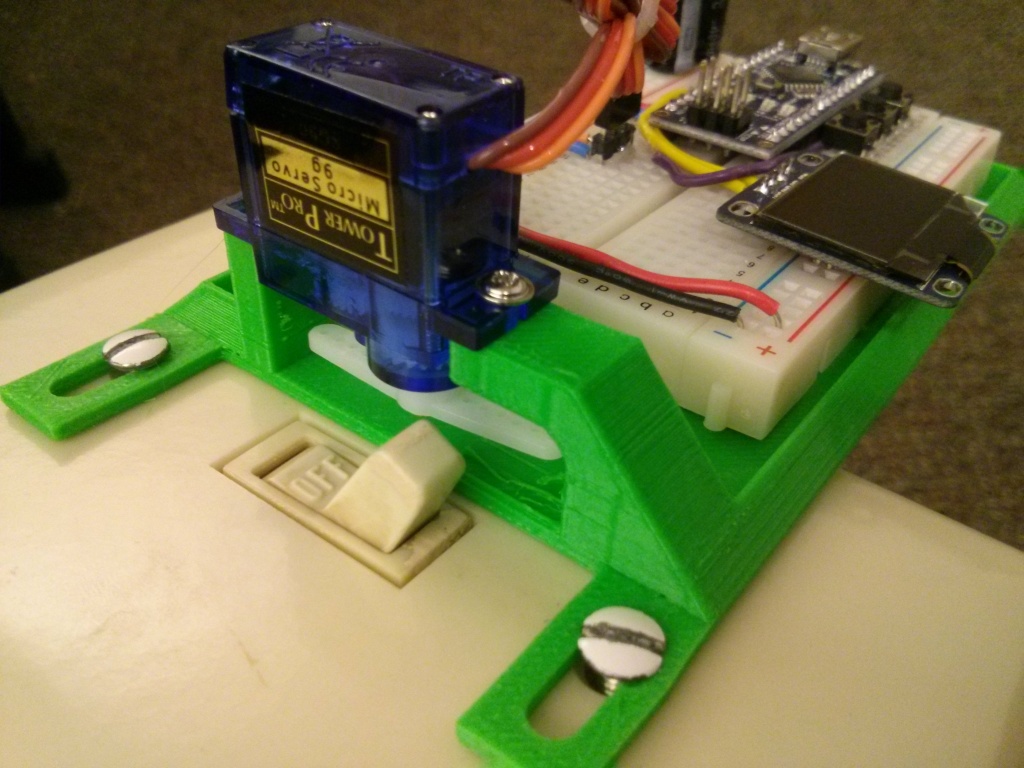
I iterated on my design a little, and ended up getting it to work quite reliably, also adding a spot for a breadboard right on it:

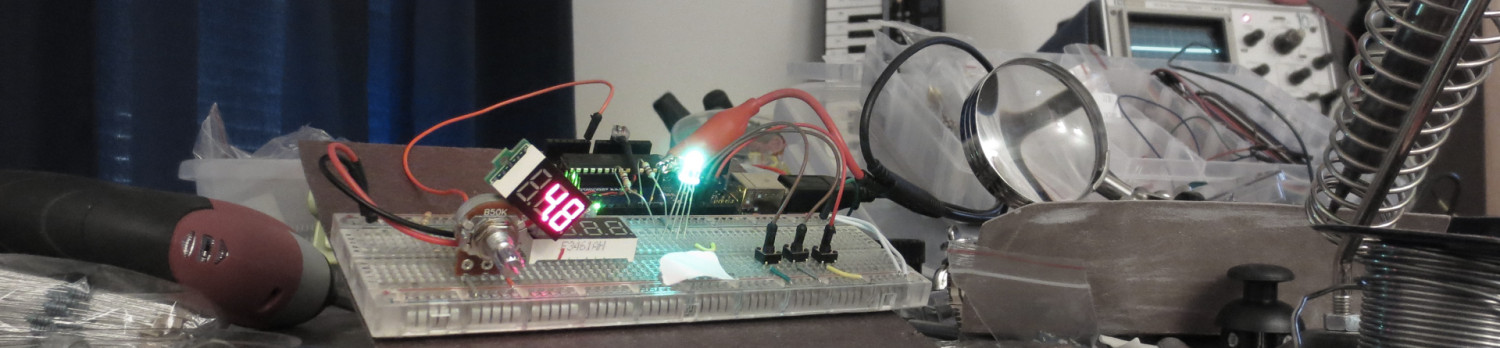
To run it, I got an Arduino Nano, a small OLED display, and some tactile buttons to form a user interface. Here’s an early build of it:

Once it was reliably switching, I developed an interface using the tactile buttons and OLED display. I really liked the OLED display, since it was I2C, had a readily usable library, and displays brightly in two fixed colors (yellow on the top quarter, cyan for the rest).
For the software, I used the Time library to get realtime clock logic, this Adafruit GFX library to show pixels, and the native Servo library to run the servo. The full code is here.
Here’s a video:
Source files: 3D design on Thingiverse. Code on github.
Sidenote: I also got an early version to work with an ESP8266 programmed with Arduino (here’s the Arduino support code, some info, and a useful tutorial). You only need one output pin to run the servo, so even the dirt cheap classic ESP8266 board works. This means that you could slap this servo bracket on to any light switch to get web-enabled control almost immediately. The downsides include web security and the need for both 3.3V and 5V supply (the latter for the servo — it won’t have enough power to flip the switch at 3.3V).
Pingback: The Robot Light Switch | Hackaday
Very nice, I had thoughts of adding this to my hot water cylinder, to give it some expert skills and reduce power usage. ie times of high and low demand varies the temperature and a servo is better than a 10 amp relay.
Very Clever! Probably will feature this on Atmel’s blog!
Pingback: Building a robotic switch to automate your air conditioner | Atmel | Bits & Pieces
Pingback: Building a robotic switch to automate your air conditioner | Atmel Bits & Pieces