 People have been experimenting with Nylon trimmer line for a while, and I wanted to give it a shot, since nylon is tougher, more flexible, smoother for moving parts, and can handle higher temperatures. I found a few small tips which I believe are novel, specifically that (1) gaffers tape makes a fantastic print surface while preserving inductive level sensing, (2) minimum print time per layer is the key to getting good prints with Nylon at high temperatures & speeds, and (3) dickbutt is the best test model in the world.
Summary of findings for the impatient:
- Trimmer line used: Rino-Tuff Universal 0.065 in. x 275 ft. Trimmer Line (Home Depot).
- Print surface: Gaffer’s Tape. It makes an excellent surface — the nylon adheres quite well, but the tape can be peeled off to help free parts like painter’s tape can for PLA. No alcohol or glue necessary. I haven’t seen anyone online using it for nylon, so maybe I discovered something new?
- Get the right size: Make sure your filament is less than the rated size for your printer, not merely close (2.0mm didn’t work in my 1.75mm printer, but 1.65mm did).
- Don’t trust the size on the label: My “1.65mm” filament was actually a fairly consistent 1.40mm.
- Cura print settings — after experimenting, I arrived at the following settings (Cura profile INI here):
- Temp: 230 C
- Speed: 40 mm/s
- Fan: off!
- Minimum layer time: 10 s (essential!!)
- Retraction speed: 10 mm/s (slower than default)
- Retraction amount: 1 mm (less than default)
- Retraction combing: on
- Travel speed: 160 mm/s (much faster than default)
- Bottom layer speed: 10 mm/s (slower than default)
- Heated drying unnecessary: Drying of the filament may help, but I found I didn’t need to given the right printer settings (sufficiently high temperature).
- Be systematic in your experimentation for print settings!
More details after the break.
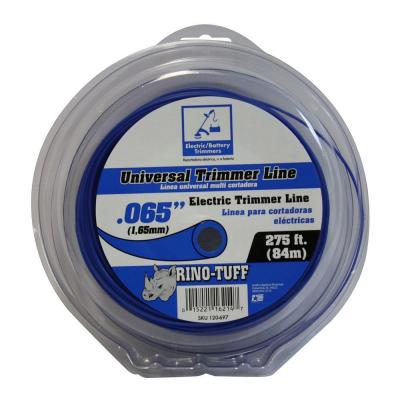
The trimmer line I got was cheap stuff from Home Depot: “Rino-Tuff Universal 0.065 in. x 275 ft. Corded and Cordless Trimmer Line“. The diameter is 0.065 inches, or 1.65mm, but use a digital caliper to measure the actual diameter — mine ended up being about 1.40mm.
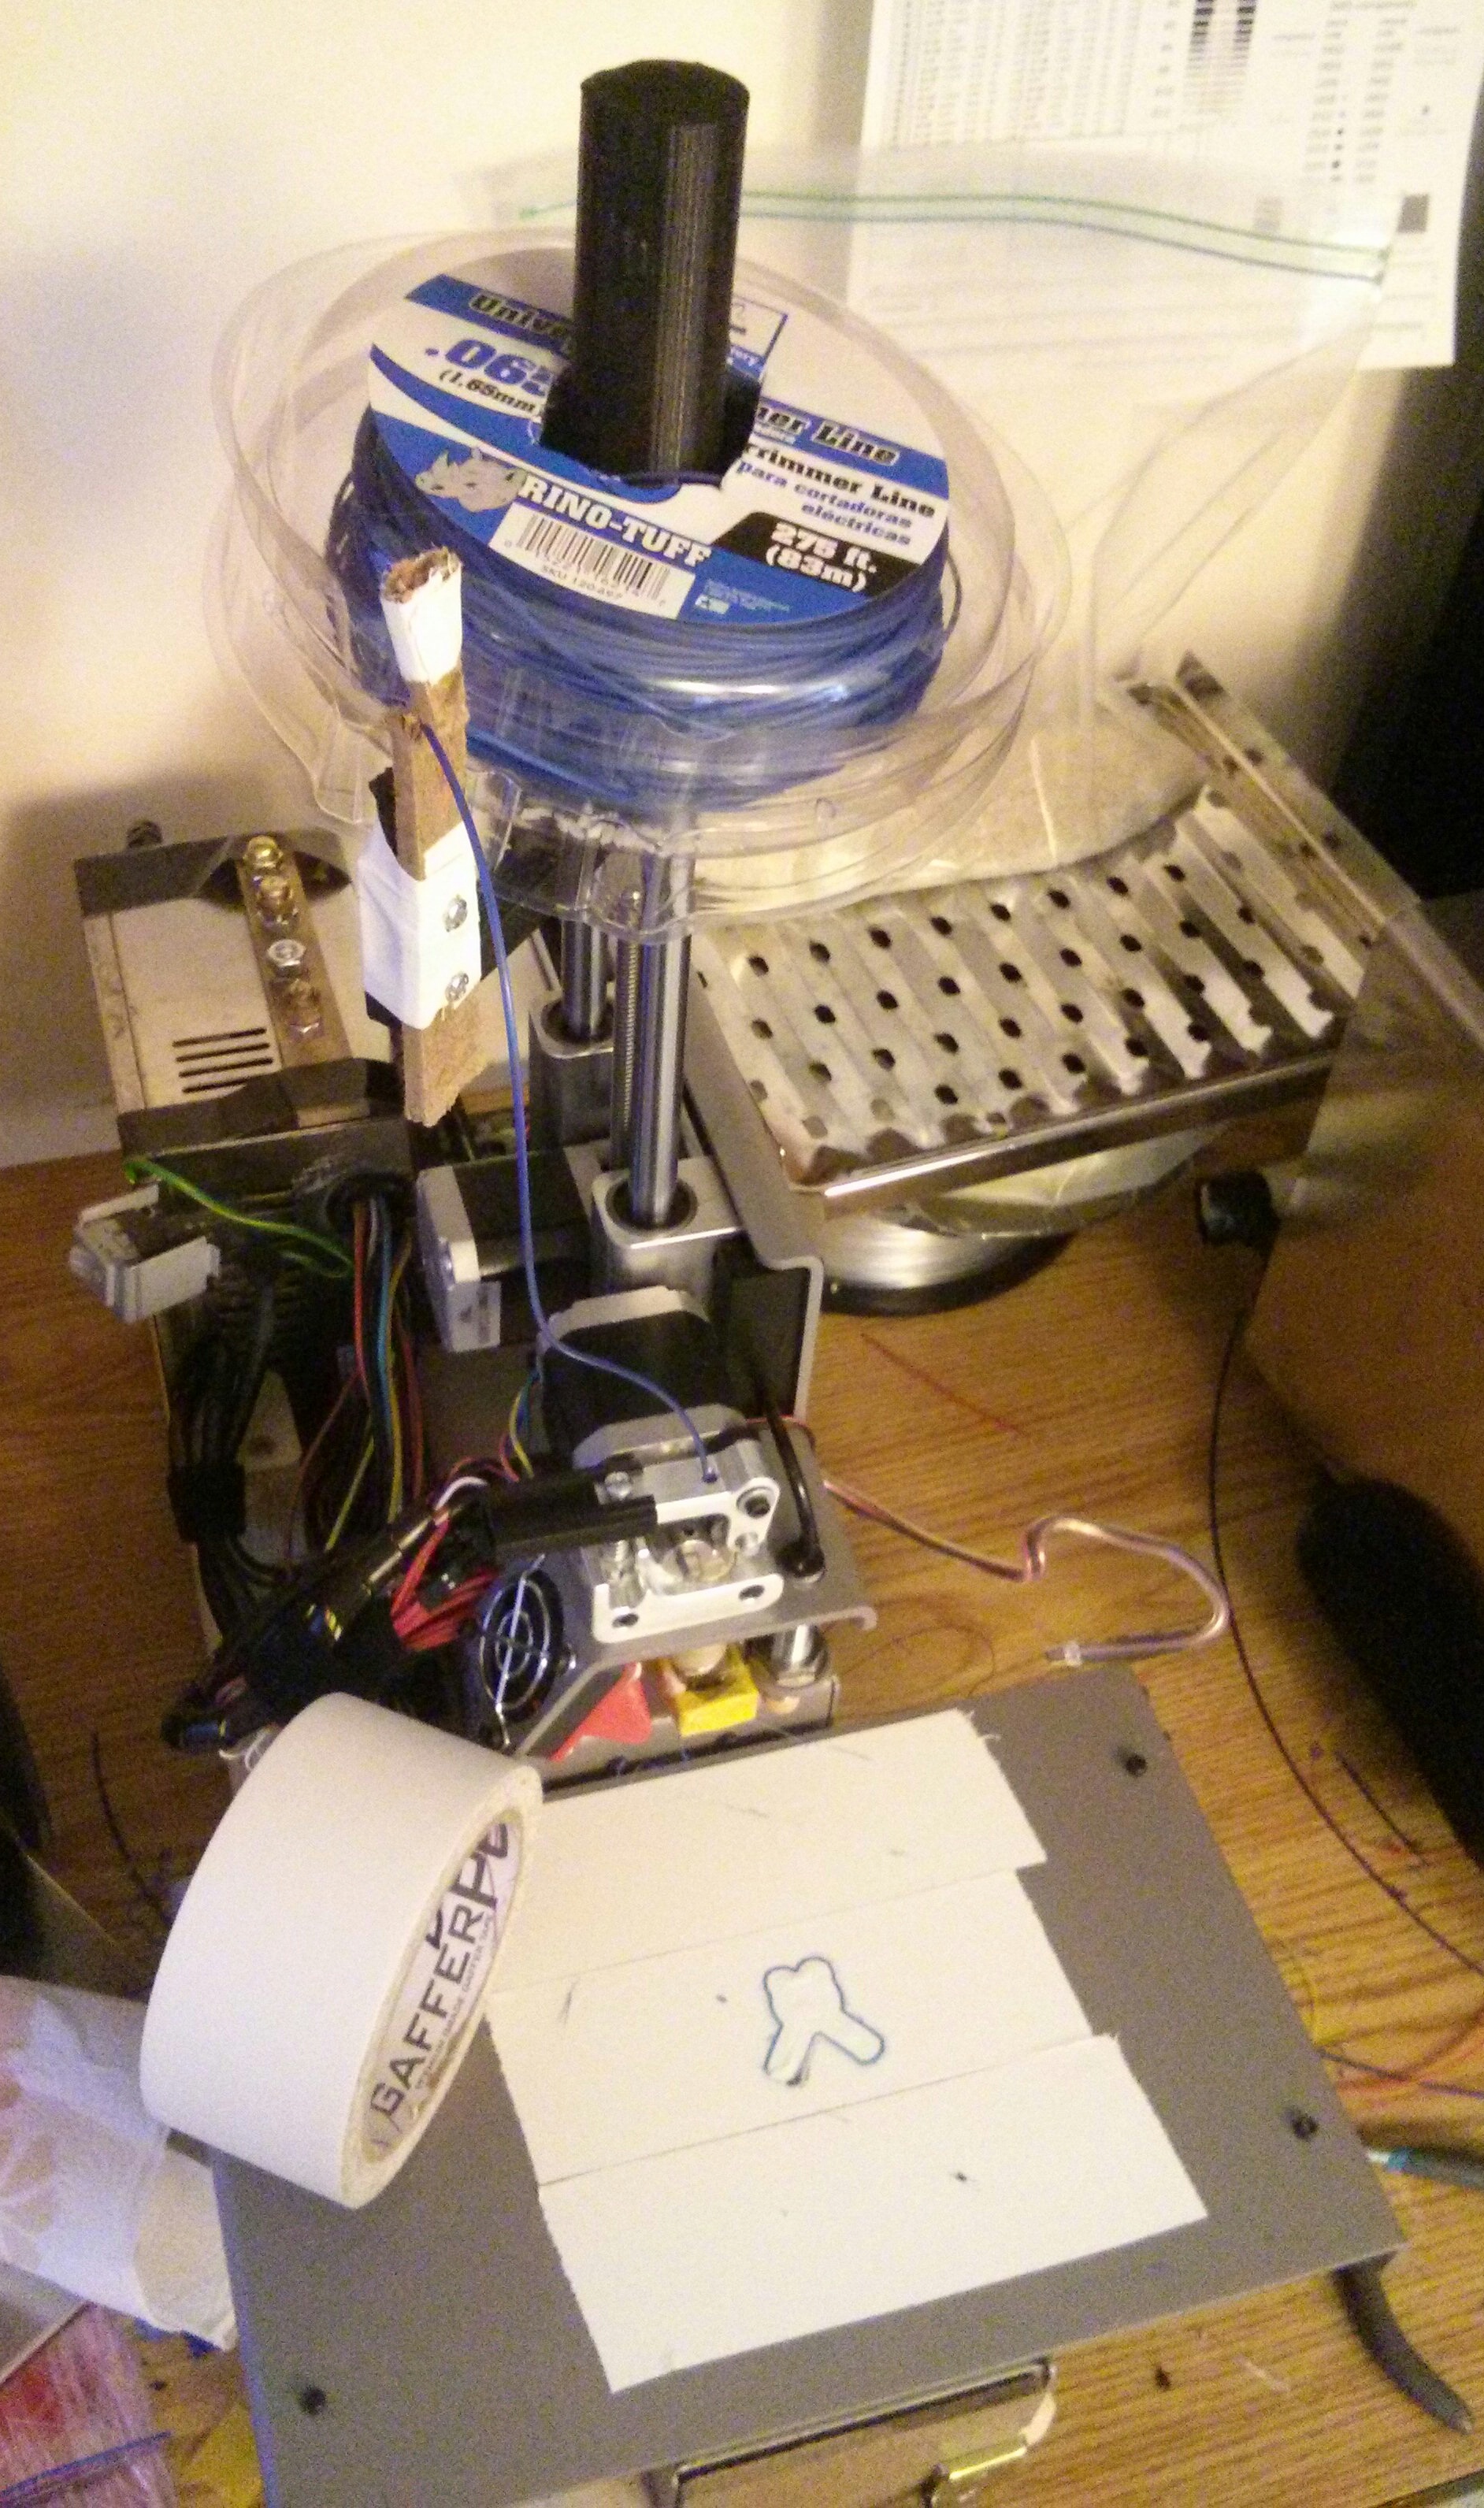
I found that you can cut a hole in the center of the package and use it just like a regular spool! It actually unrolls better than some of the actual filament spools I’ve bought.
For a test print, I started out by printing venerable Internet weirdthing “dickbutt”. Once I was partially successful, I went to use other test models, but I found that none of them had all the test features that dickbutt has. I was drawn inescapably to a shocking conclusion: dickbutt is the best test print model humankind has yet produced:

The model has mostly been removed from Thingiverse, but it can still be found as the “pawn” piece from this Dickbutt Chess Set. I’ve also mirrored it here just in case.
For print surface, I tried the hardboard that was recommended, but my PrintrBot has an inductive autoleveling probe, and I didn’t want to lose that feature by putting thick, nonconductive board on top. I tried a few alternatives, until I stumbled on gaffer’s tape, which works superbly. Note that gaffer’s tape is different than duct tape! It has a canvas-type back with a medium strength removable/reusable adhesive.
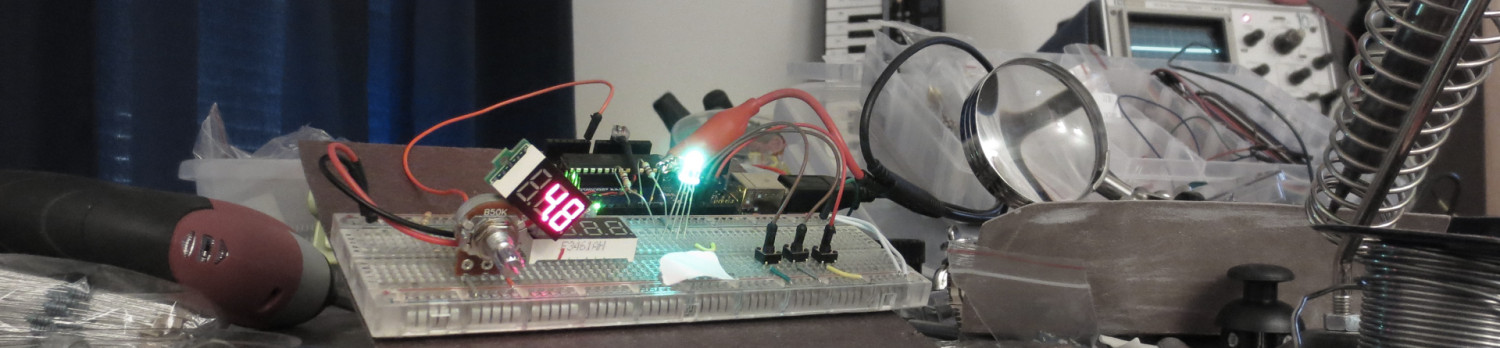
Next I started experimenting with print settings. I quickly lost track of all the options when trying stuff by hand, so I collated my experiments into a speadsheet. Here are the results with the accompanying prints:
| Test ID | Temp (C) | Speed (mm/s) | Fan? | Minimum layer time (s) | Result | Conclusion |
| try1 | 238 | 70 | On | 5 | High precision, multiple delaminations | Slower and less cool |
| try2 | 238 | 40 | Off | 0 | Extremely globby, hot at completion, zero delamination | Faster OR more cool |
| try3a | 238 | 70 | Off | 0 | Like try2, but even worse | |
| try3b | 238 | 40 | On | 5 | Stopped extruding 1/3 through – nozzle clog, probably from steam bubble up. Seems like it was going to be delaminated like try1 | Need to dry filament better. Need better temp? |
| try4 | 224 | 70 | Off | 0 | Bottom good, top bubbly | Add min layer time |
| try5 | 224 | 70 | Off | 5 | A bit stringy, but otherwise good! | Reduce temp? |
| try6 | 218 | 70 | Off | 5 | Stringy AND delaminating! | Increase temp!! |
| try7 | 238 | 70 | Off | 5 | Nice, a bit stringy, top of head a bit melty | Temp minus a bit, and more time per layer? |
| try8 | 230 | 70 | Off | 10 | Great, just a bit stringy | Try fiddling other settings |
| try9* | 230 | 70 | Off | 10 | Far less stringy, better feet | Success! |
 Notes:
- Early tests (before the dickbutts) showed that delamination (the separation of the vertical layers) was a major problem. Thus, the rest of these tests are seeking to find a balance between reducing delamination and dealing with other negative side-effects as I did so.
- Test 1 appears like it only partially printed, but it actually printed the whole thing with very good precision and no visual defects. However, it was very weak, and suffered from excessive delamination — it broke into three separate horizontal slices, and I lost the top two.
- Test 2 was slower and without the fan; it completely abolished the delamination, but the resulting print is super lumpy and imprecise, especially near the top — we’ll see why later. After this test, I knew I had to print either faster or with the fan, so I tried each.
- Test 3a was the higher speed test — it produced another lumpy mutant, but no delamination.
- Test 3b was the slow fan-on test. It failed partway up with a clog. I believe the fan caused excessive cooling of the hot end. This combined with the popping and evaporating water that is absorbed into most nylon filament, causing some molten filament to be pushed up into the extruder, where it cooled into a solid. I was able to clear this by simply reheating it to 238 and feeding a ton of PLA through very quicky.
- I resolved to leave the fan off for the rest, and mess with temperature. I tried dropping temperature in test 4, which fixed the bottom half, whereas the top half remained bubbly and lumpy. This is when I realized the difference — the top half has a smaller cross-section area, so those layers would finish faster and have less time to cool. FIXING THIS IS THE KEY TO PRINTING WITH NYLON!
- As a result, I tried turning on the “minimum layer time” in Cura, starting it at 5 seconds — this produced test 5, which is fairly good! It just had a lot of stringiness.
- On PLA, I solved stringiness issues by cutting temperature, so I tried that, dropping down to 218 for test 6 — this was dumb, and I got another clog like test 3b.
- I jumped back up to 238 for test 7 to see if I could cure stringiness with more heat. This came out similar to test 5, so no help there.
- For test 8, I bumped the layer time to 10 s and got a much more precise result, but still some stringiness.
- I wasn’t sure what to mess with, so I looked around online and ended up trying out a few settings from the Nylon reference config found here. This gave me test 9, which was the same as test 8, but with these extra tweaks:
- retraction_speed = 10
- retraction_amount = 1
- retraction_min_travel = 1.5
- retraction_combing = True
- travel_speed = 160
- bottom_layer_speed = 10
- fill_overlap = 10
The profile I ended up with after this testing gives good results for my machine and this particular trimmer line. I welcome you to try it out, but you may have to experiment a bit to get good results for your setup — hopefully the notes above will give you some direction to go on.
A note on cost:
- The trimmer line I found costs $8 for 84m. However, we can’t just compare price per meter, since the diamater is 1.40mm instead of 1.75mm, so instead we compare cost per volume. The volume of this much trimmer line is:
This means the trimmer line is 6.2 cents/cm^3. - Actual Taulman Nylon 618 filament is $28 for 1lb (0.454 kg). The density is 1.134 g/cm^3 (source), meaning that this is 383 cm^3. This means the proper nylon filament is 7.3 cents/cm^3.
- For comparison, PLA on Amazon is $23 for 1kg. PLA’s density is about 800 cm^3/kg (source), so this is 800 cm^3. This means that PLA costs 2.88 cents/cm^3.
- Similarly, cheap imported PLA from ebay is about $16 for the same amount, or 2.0 cents/cm^3.
So trimmer line is a bit cheaper than proper nylon filament, but it’s generally available in fewer colors (while there are a variety of colors available, most are too large of a diameter to be used, or have some stupid non-round shape). On the plus side, trimmer line is available locally, so you don’t have to wait for shipping.
Both trimmer line and Taulman nylon are over 3 times the cost of PLA. Still, the advantages of Nylon may outweigh this cost, because it is far stronger, more flexible, and resistant to high temperatures. In addition, it’s self-lubricating when it comes to moving parts, making it great for things like gears.
Lastly, note that Nylon emits a fairly noxious gas when printed, so be sure not to print for long periods in an enclosed space.
Good printing!
I want one.
Pingback: MPCNC: Custom mods and part of a dickbutt | Disc Space
We have been using gaff tapes for while now, their gaffers tape works well for 3D printing.