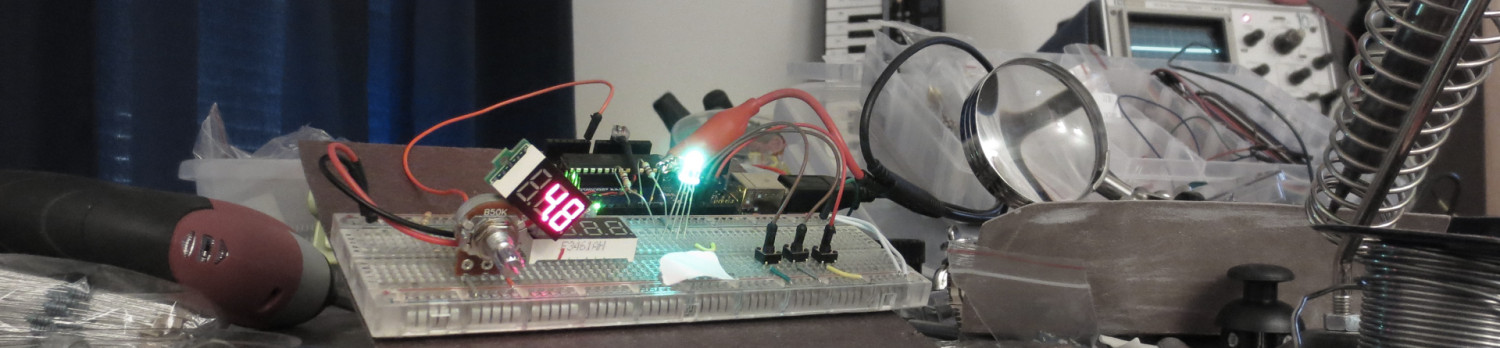
 I’m going to be making a large 7-segment display clock later, and I needed a control board for it. Rather than purpose build something, I set out to make a generalized board I could reuse with various projects based on the Arduino-compatrible ATtiny84 microcontroller.
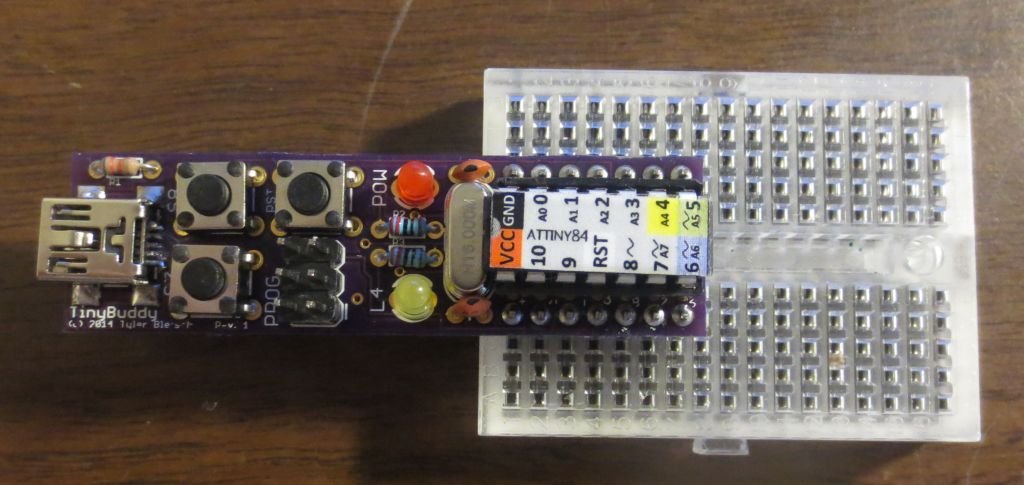
The result is the TinyBuddy: a general host PCB for the ATtiny84. Features two buttons (plus reset), a power LED, activity LED, 16MHz crystal for accurate timekeeping, and USB or DC barrel jack for power. The pins are one-to-one correlated to the pins of the bare chip, so it’s a drop in replacement on a breadboard. While the prototype (pictured here) used micro-USB for power, I designed a second revision that uses entirely through-hole parts for easy construction. It can be fabricated for about $7 through OSH Park!
You can find the Eagle design files for it on github, or order it directly from OSH Park (Rev1 with micro USB, Rev2 with barrel jack).
 Some build history after the break.
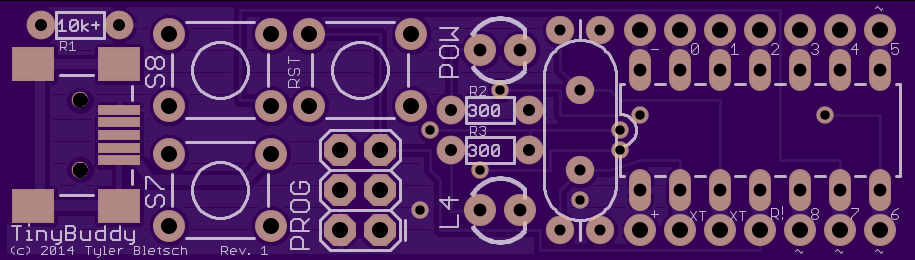
Here’s the OSH park mockup of rev1, shown fully built above:
Once I built it, I noticed a few problems:
- Ergonomic problem: instinct is to use it upside down
- Surface mount micro USB sucks to solder
- Programming ribbon cable presses up against reset button
- Pin silkscreens often cut off
- Labels of S7 and S8 reversed (duh!)
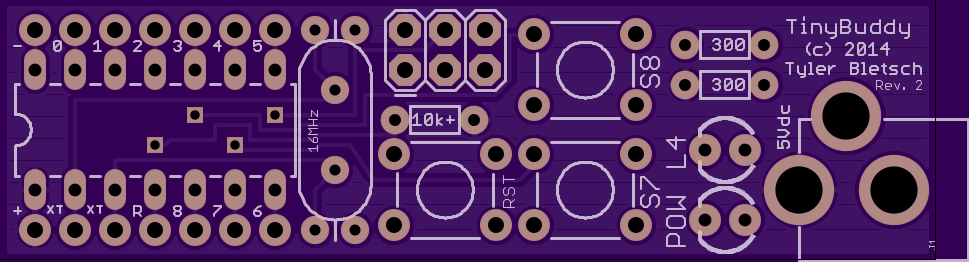
Revision 2 fixes this by doing the following:
- Reoriented text and components to be used with chip facing away
- Switched to DC barrel connector for power
- Rearranged components to separate programming port, arranged things better
- Design now uses entirely through-hole components
- Tweaked pin silk screens
- Fixed button labels
Here’s a mockup pic of rev 2, which I have on order now:
 Hopefully it fixes the issues above. In any case, rev1 is certainly good enough to run a clock!