Kerbal Space Program – Science Checklist

UPDATE: I just uploaded Revision 2.  See bottom of post for changes.
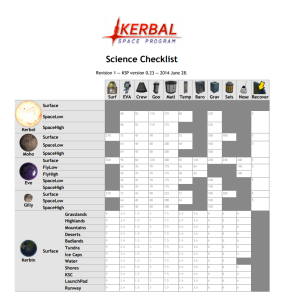
Page 1 of 5.
Here’s what it looks like — get the HTML, PDF, or XLSX to see the real thing.

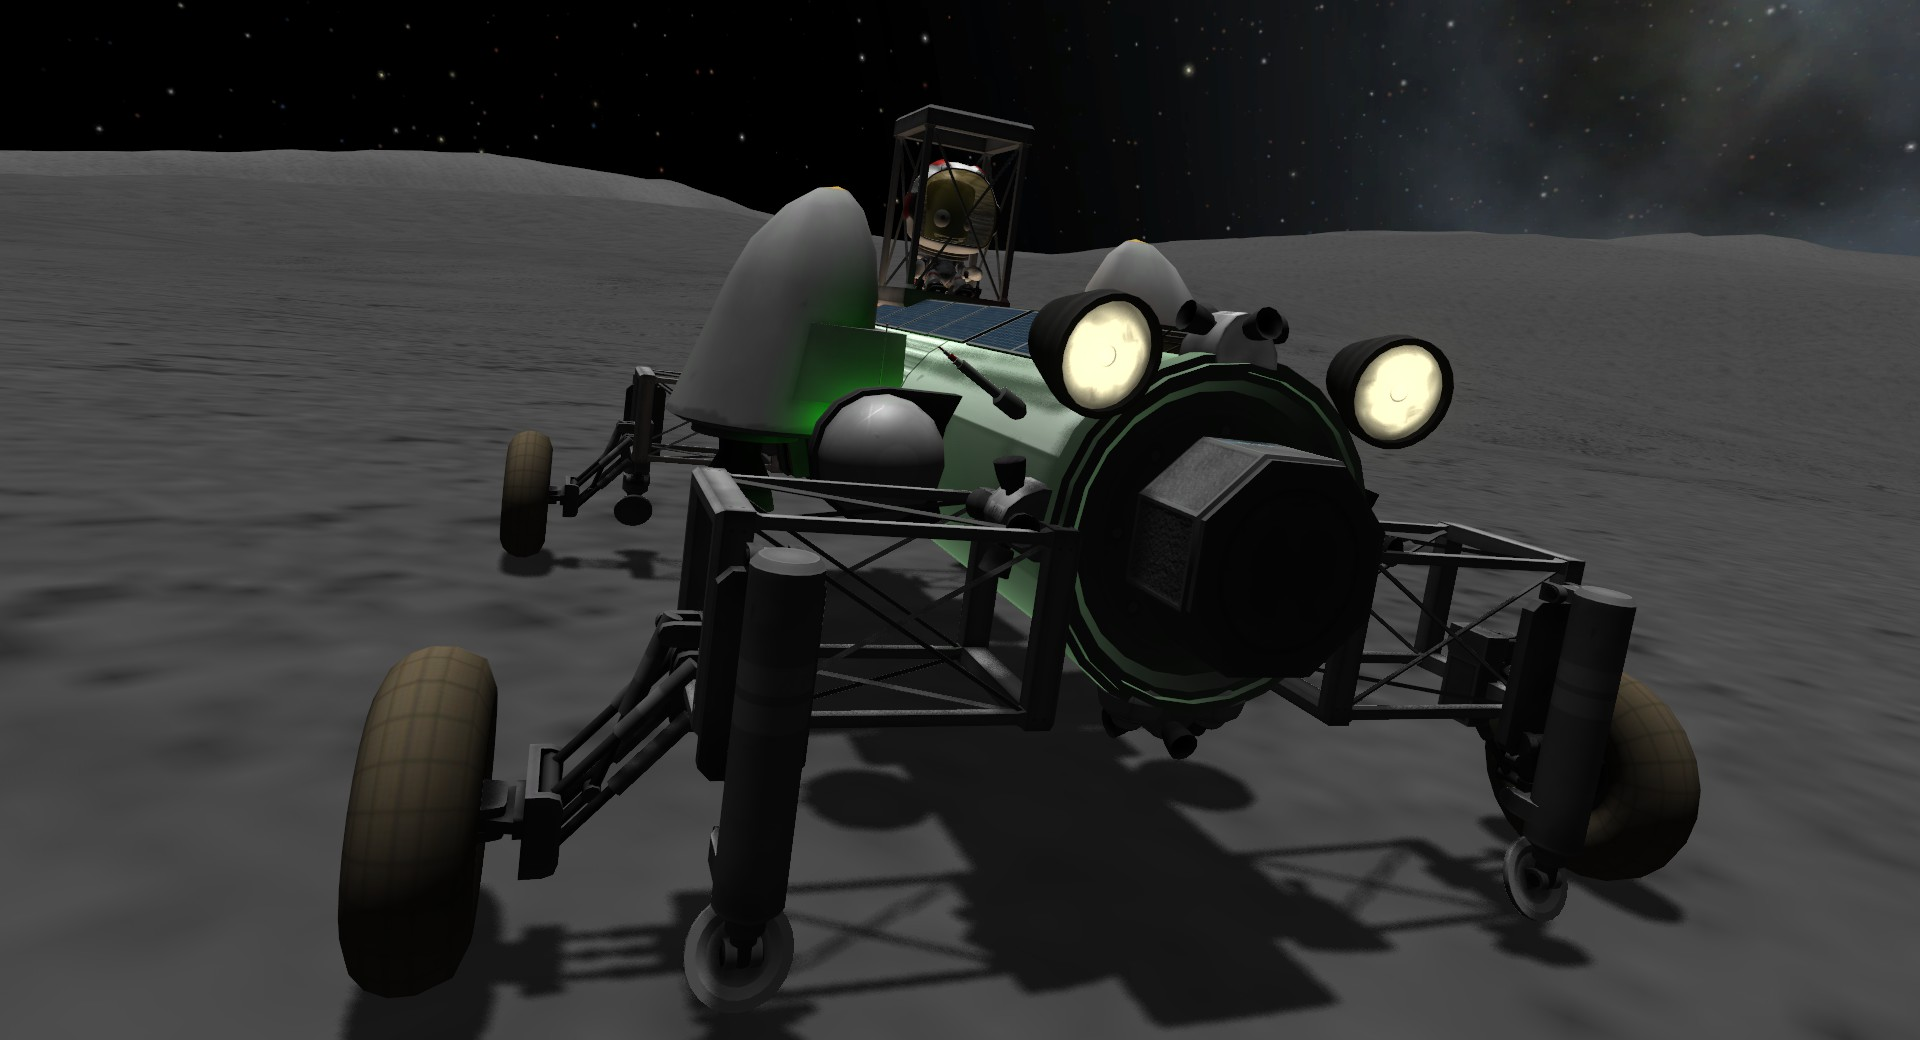
I decided it’s time to get serious about my pretend space exploration (Kerbal Space Program).  I wanted a way to keep track of the various science experiments I’d done, and the built-in interface is so-so about tracking that in one easy to read place.

So I spent today building a script to generate a giant Kerbal Science Checklist!

I basically scraped a lot of rules from the Kerbal Space Program wiki and coded them into a bunch of data structures in Python, then had the script iterate them to generate a giant HTML document.  I wanted to print mine, so I tweaked the output HTML to pagebreak cleanly, and turned it into a PDF.  I also found that it copy pasted into Excel without too much trouble.

The science points shown indicate the base value for returning the results safely to Kerbin (as opposed to transmitting them), and they don’t include the subsequent value of repeating the experiment.  They’re probably not perfect…I didn’t test the math very much.

Updated 29 June 2014 — changes in revision 2:

  • I noticed that the HTML download didn’t have the images — fixed.
  • I’ve been told that you can splash down on Eve, Laythe, and even some non-water biomes of Kerbin.  I’ve added “Splashed” rows for Eve and Laythe.  I didn’t add a separate “Splashed” section for Kerbin, since it would be very long, and few people probably care about splashing down in a puddle in the badlands.
  • I removed the invalid “Surface” row for Kerbol (the sun).
  • Fixed seismic scans in water — they’re invalid.

Download revision 2 here:

Enjoy!

Cheap PCB turns 10-pin AVR programmer to 6-pin

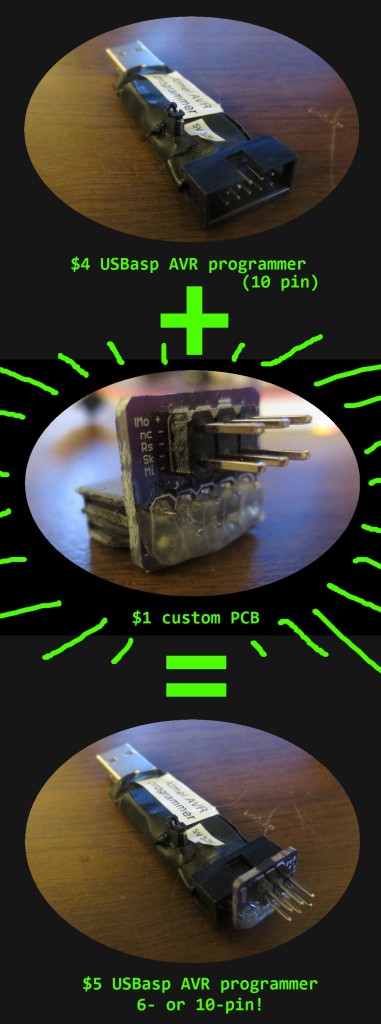
wowI’ve been using this cheap $4 AVR programmer to upload Arduino code to bare AVR chips.  The only issue is that it uses the 10-pin programmer interface, which takes up a lot of PCB real estate on my projects.  Instead, I wanted to use the more efficient 6-pin connector standard.

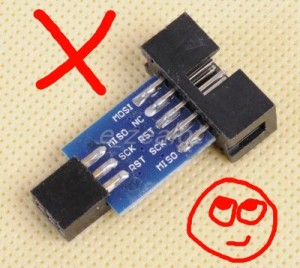
I looked on eBay for a cheap 6-pin programmer, but they don’t appear to exist.  All I find are the same programmer I have, but with an awful, gigantic, ugly adapter that’s designed to go on the project side:

ugly adapter2
Fig.1: Lame adapter for losers.

So you run a giant fatty 10-pin ribbon cable and have this thing jutting out of your project.  That suuuuucks.

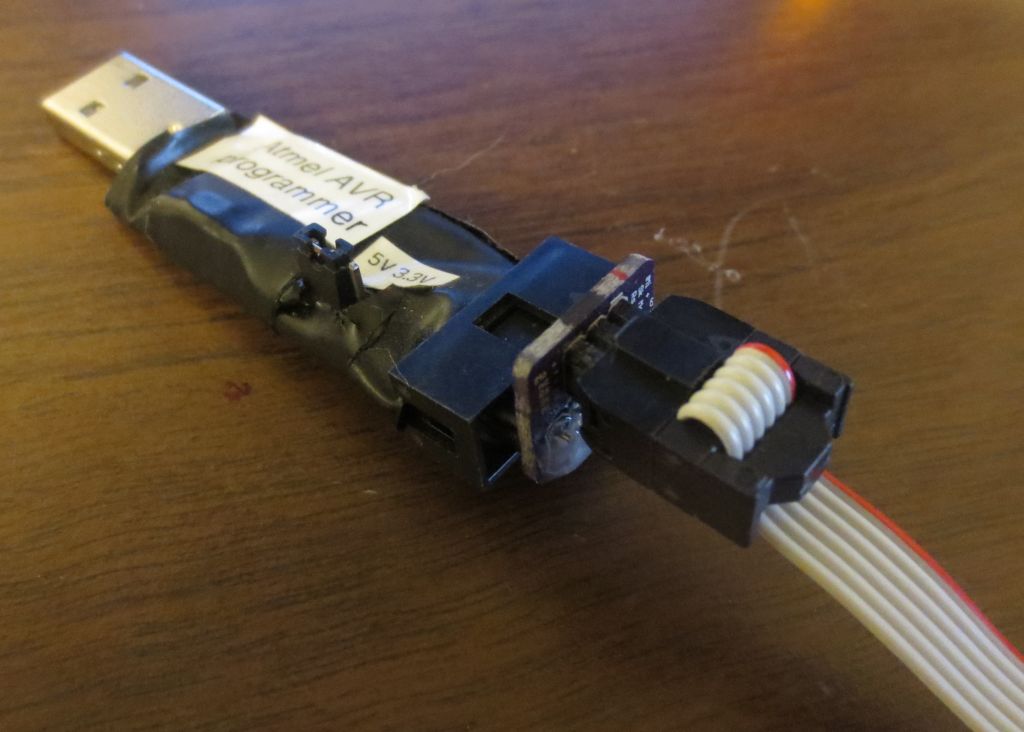
Instead, I developed a tiny (half inch square) PCB designed to accept the programmer on one side and a 6-pin ribbon cable on the other.  Because it’s so small, it’s crazy cheap to fab with OSH Park ($1.60 for three), and the headers cost virtually nothing.  Now I can snap it into my programmer and use 6-pin cables, or pop it out and use 10.

I over-engineered mine, hot-gluing the exposed conductors and rounding the corners, but really, none of that’s necessary.

You can get the Eagle design files on GitHub, or order one from OSH park.

bIMG_1928

TinyBuddy: A host board for the ATTINY84

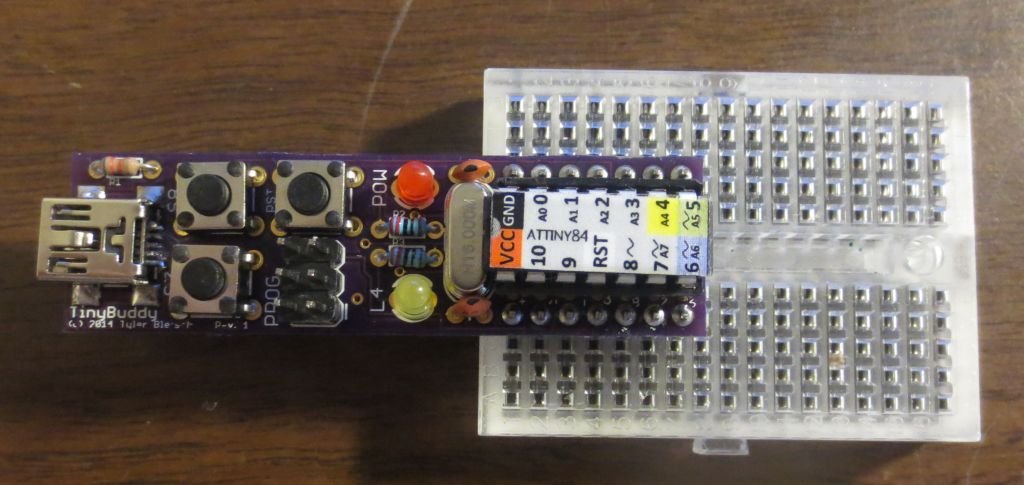
IMG_1902bI’m going to be making a large 7-segment display clock later, and I needed a control board for it.  Rather than purpose build something, I set out to make a generalized board I could reuse with various projects based on the Arduino-compatrible ATtiny84 microcontroller.

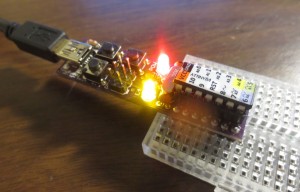
The result is the TinyBuddy: a general host PCB for the ATtiny84. Features two buttons (plus reset), a power LED, activity LED, 16MHz crystal for accurate timekeeping, and USB or DC barrel jack for power. The pins are one-to-one correlated to the pins of the bare chip, so it’s a drop in replacement on a breadboard.  While the prototype (pictured here) used micro-USB for power, I designed a second revision that uses entirely through-hole parts for easy construction. It can be fabricated for about $7 through OSH Park!

You can find the Eagle design files for it on github, or order it directly from OSH Park (Rev1 with micro USB, Rev2 with barrel jack).

IMG_1900bSome build history after the break.  Continue reading TinyBuddy: A host board for the ATTINY84

Teensy 3.1 label

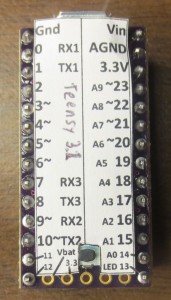
IMG_1885bI just picked up a Teensy 3.1, which is an ARM development board that can speak Arduino.  OSH Park was running a special where I could tack one onto my order for a few bucks.  It’s pretty neat.

The only downside is that the design doesn’t have pin labels on the top of the board.  This makes it really tough to use in a breadboard.  To fix this, I made a label to stick to it to call out the pins — posting here in case someone on the internet could use such a thing.

Here’s the PDF, as well as the Microsoft Publisher source file.  Unlike the photo, the linked label has the name of the board written in text rather than in ballpoint pen.

Ax Clock Part 2

This is a guest post from my friend Rebecca on her adventures building her own Ax Clock. -Tyler
IMG_1379

This blog post came about because I saw Tyler’s Ax Clock post and wanted one for myself. He wrote a nice blog post about it, but I didn’t know enough to make it myself so I asked him to help me. As we were making the clock, Tyler asked me if I would like to make a guest post on his blog. I was not sure if this was a good idea because a) Tyler has already made a post about this same project and b) I know basically nothing about electronics or programming. This did not stop me from immediately agreeing to do it.

Full story after the break.  Continue reading Ax Clock Part 2

Mario Kart 8

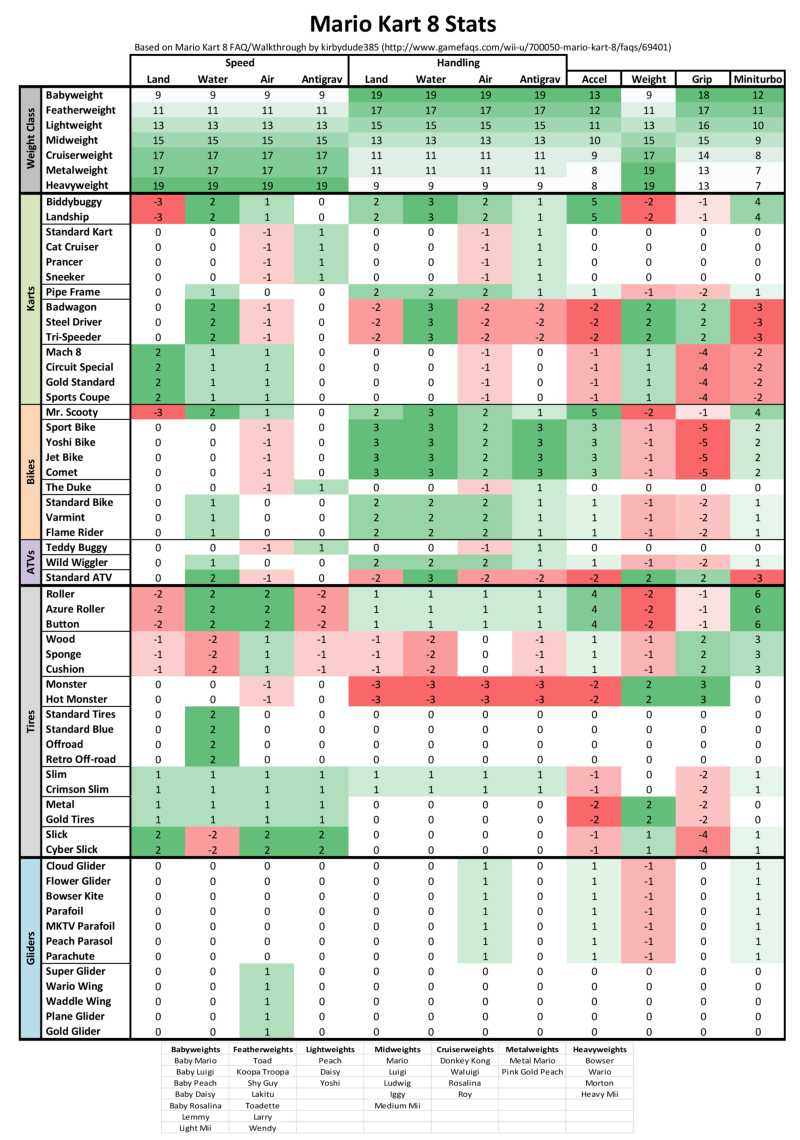
UPDATE 6/7/2014: The FAQ got updated with all the values, so here’s the final fancy verison.

Just got Mario Kart 8, and I made a nerd table based on the data from this FAQ (values multiplied by 4 to make them whole):

Mario Kart 8 v2

PDF here, XLSX here.

In Mario Kart Wii, the stats basically added up to “use Funky Kong on the Flame Runner”, but there’s no all-around best on Mario Kart 8 — the bottom line seems to be “drive what you like”.