
I’m getting better at this game.
(Though this particular rover sort of exploded when I took a hill too fast and I tried to compensate…with rockets.)
I'm Tyler Bletsch, and sometimes I do projects, and sometimes I write about them here.
I’m getting better at this game.
(Though this particular rover sort of exploded when I took a hill too fast and I tried to compensate…with rockets.)
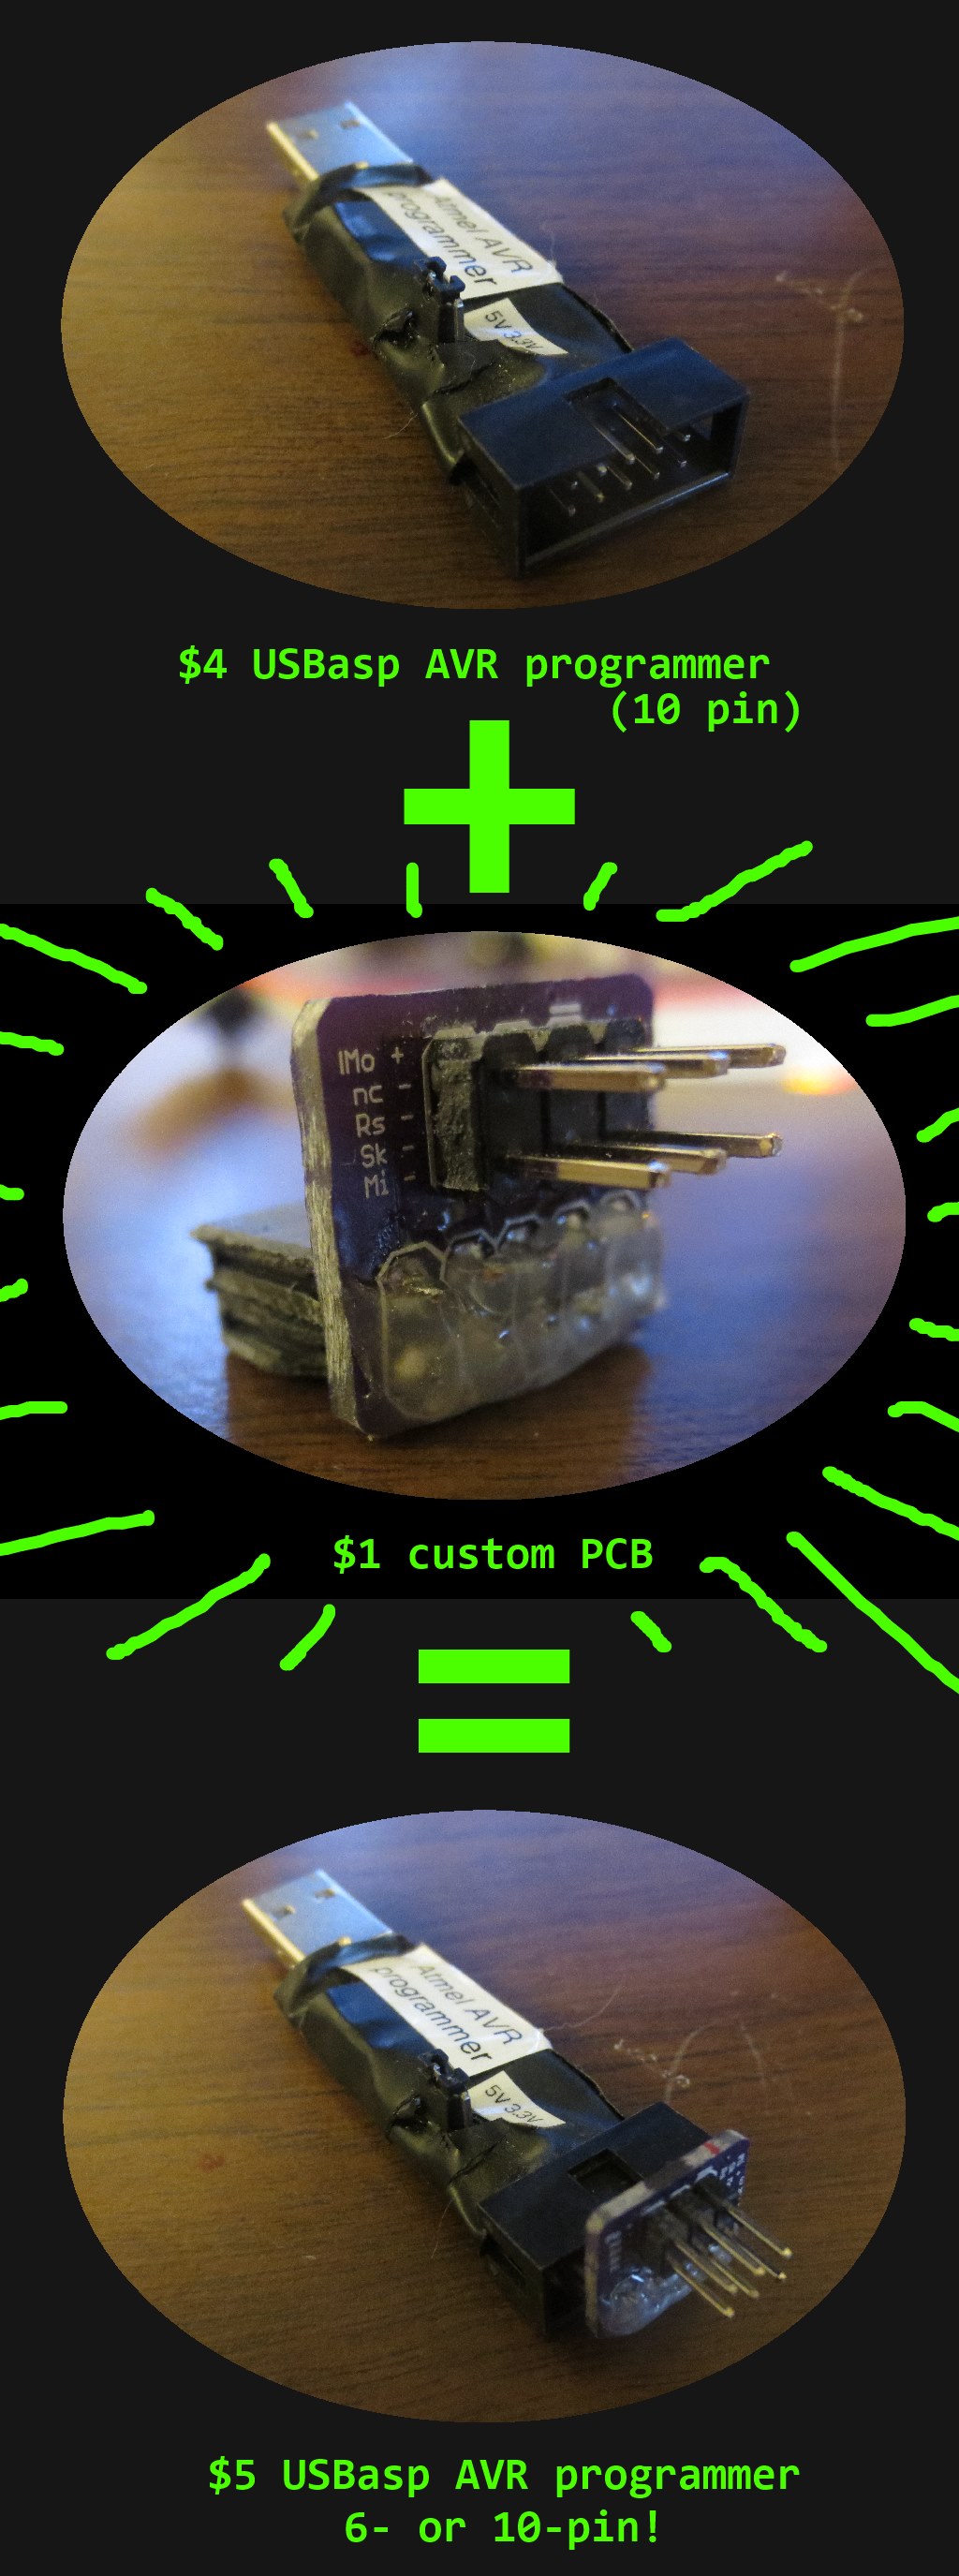 I’ve been using this cheap $4 AVR programmer to upload Arduino code to bare AVR chips. The only issue is that it uses the 10-pin programmer interface, which takes up a lot of PCB real estate on my projects. Instead, I wanted to use the more efficient 6-pin connector standard.
I looked on eBay for a cheap 6-pin programmer, but they don’t appear to exist. All I find are the same programmer I have, but with an awful, gigantic, ugly adapter that’s designed to go on the project side:

Fig.1: Lame adapter for losers.
So you run a giant fatty 10-pin ribbon cable and have this thing jutting out of your project. That suuuuucks.
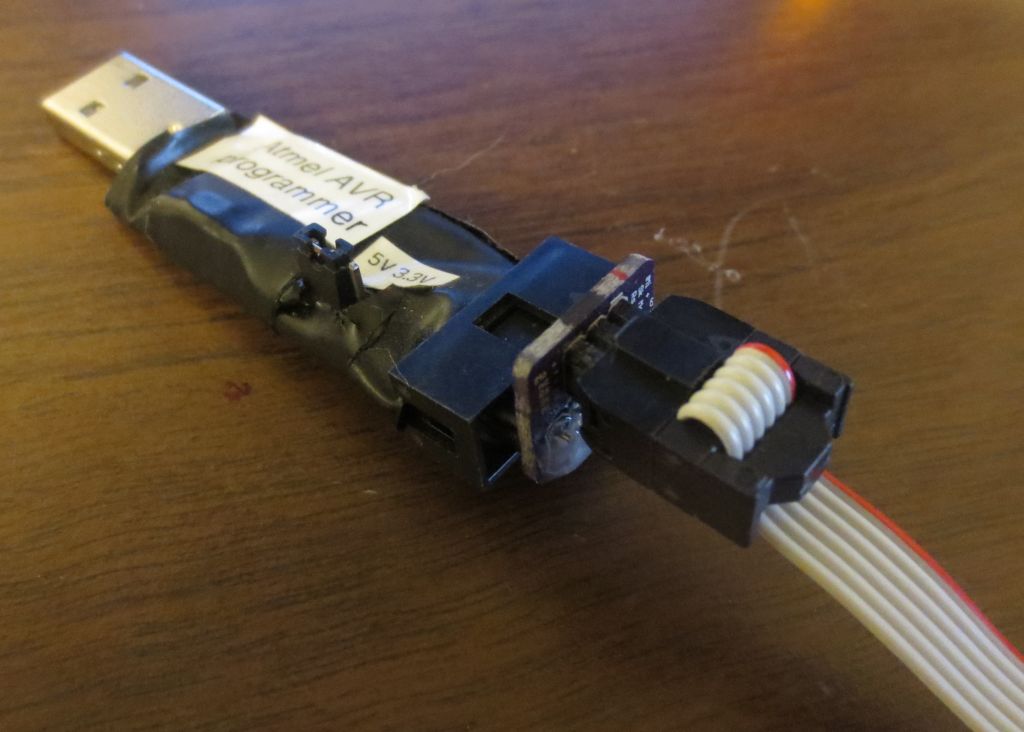
Instead, I developed a tiny (half inch square) PCB designed to accept the programmer on one side and a 6-pin ribbon cable on the other. Because it’s so small, it’s crazy cheap to fab with OSH Park ($1.60 for three), and the headers cost virtually nothing. Now I can snap it into my programmer and use 6-pin cables, or pop it out and use 10.
I over-engineered mine, hot-gluing the exposed conductors and rounding the corners, but really, none of that’s necessary.
You can get the Eagle design files on GitHub, or order one from OSH park.
 I’m going to be making a large 7-segment display clock later, and I needed a control board for it. Rather than purpose build something, I set out to make a generalized board I could reuse with various projects based on the Arduino-compatrible ATtiny84 microcontroller.
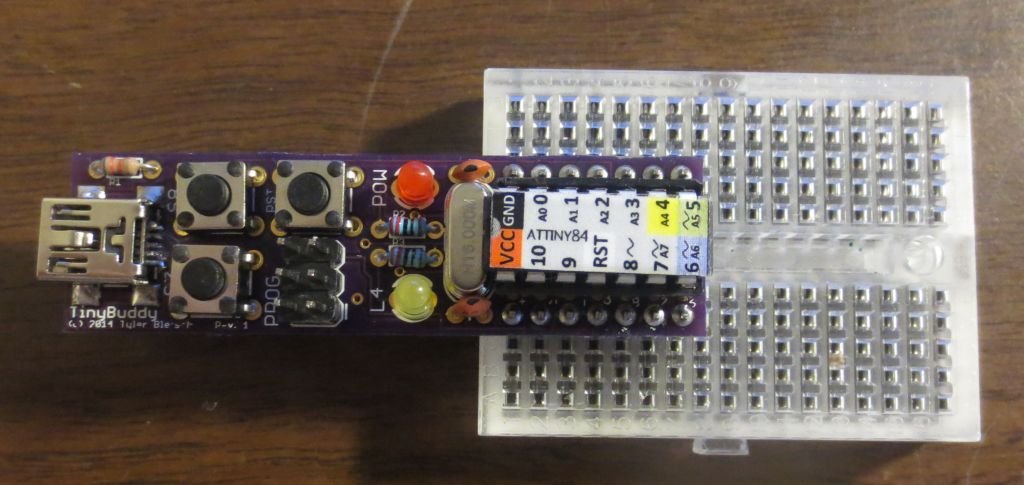
The result is the TinyBuddy: a general host PCB for the ATtiny84. Features two buttons (plus reset), a power LED, activity LED, 16MHz crystal for accurate timekeeping, and USB or DC barrel jack for power. The pins are one-to-one correlated to the pins of the bare chip, so it’s a drop in replacement on a breadboard. While the prototype (pictured here) used micro-USB for power, I designed a second revision that uses entirely through-hole parts for easy construction. It can be fabricated for about $7 through OSH Park!
You can find the Eagle design files for it on github, or order it directly from OSH Park (Rev1 with micro USB, Rev2 with barrel jack).
 Some build history after the break. Continue reading TinyBuddy: A host board for the ATTINY84
 I just picked up a Teensy 3.1, which is an ARM development board that can speak Arduino. OSH Park was running a special where I could tack one onto my order for a few bucks. It’s pretty neat.
The only downside is that the design doesn’t have pin labels on the top of the board. This makes it really tough to use in a breadboard. To fix this, I made a label to stick to it to call out the pins — posting here in case someone on the internet could use such a thing.
Here’s the PDF, as well as the Microsoft Publisher source file. Unlike the photo, the linked label has the name of the board written in text rather than in ballpoint pen.
This is a guest post from my friend Rebecca on her adventures building her own Ax Clock. -Tyler

This blog post came about because I saw Tyler’s Ax Clock post and wanted one for myself. He wrote a nice blog post about it, but I didn’t know enough to make it myself so I asked him to help me. As we were making the clock, Tyler asked me if I would like to make a guest post on his blog. I was not sure if this was a good idea because a) Tyler has already made a post about this same project and b) I know basically nothing about electronics or programming. This did not stop me from immediately agreeing to do it.
Full story after the break. Continue reading Ax Clock Part 2
UPDATE 6/7/2014: The FAQ got updated with all the values, so here’s the final fancy verison.
Just got Mario Kart 8, and I made a nerd table based on the data from this FAQ (values multiplied by 4 to make them whole):
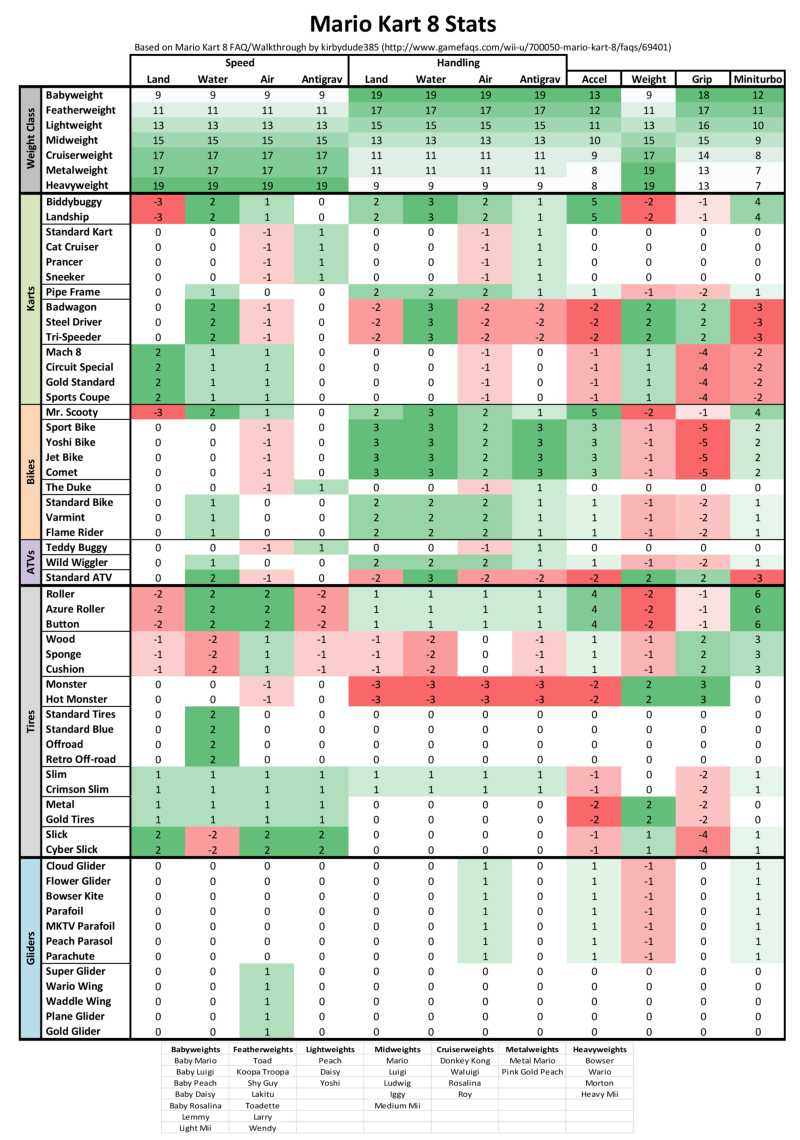
In Mario Kart Wii, the stats basically added up to “use Funky Kong on the Flame Runner”, but there’s no all-around best on Mario Kart 8 — the bottom line seems to be “drive what you like”.
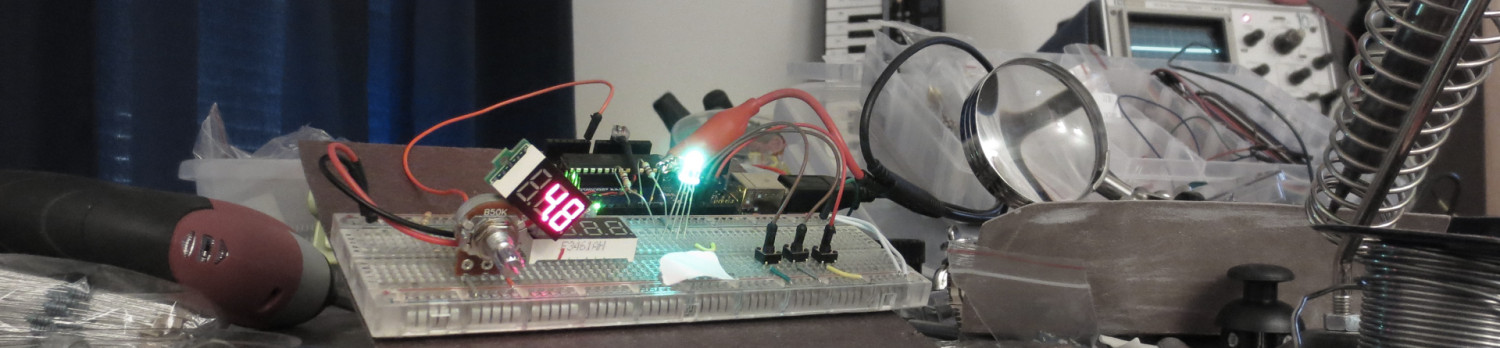
Finally picked up Kerbal Space Program. It’s lots of fun, not too complicated, and it teaches you orbital mechanics FAST. I successfully landed a man on the moon and returned him safely to the earth, but that was a high point. This is the more common result:
 Anyway, sorry this isn’t a project update. Some day I’ll write all this stuff up.
I have a ton of projects I haven’t documented on here. Sorry, internet. For now, here’s this: I just discovered a useful tip. If you need to sever some PCB traces with precision, use an engraver like this one.
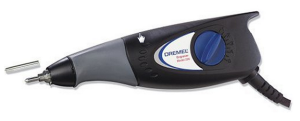 I got some PCBs in and found out I had screwed up — multiple traces were inadvertently bridged. So I had to sever some of them to make the board work, some of which were very close together. The engraver worked awesomely. It’s like a high precision targeted PCB scalpel — I pulled up a trace that was a millimeter away from another.
Proof: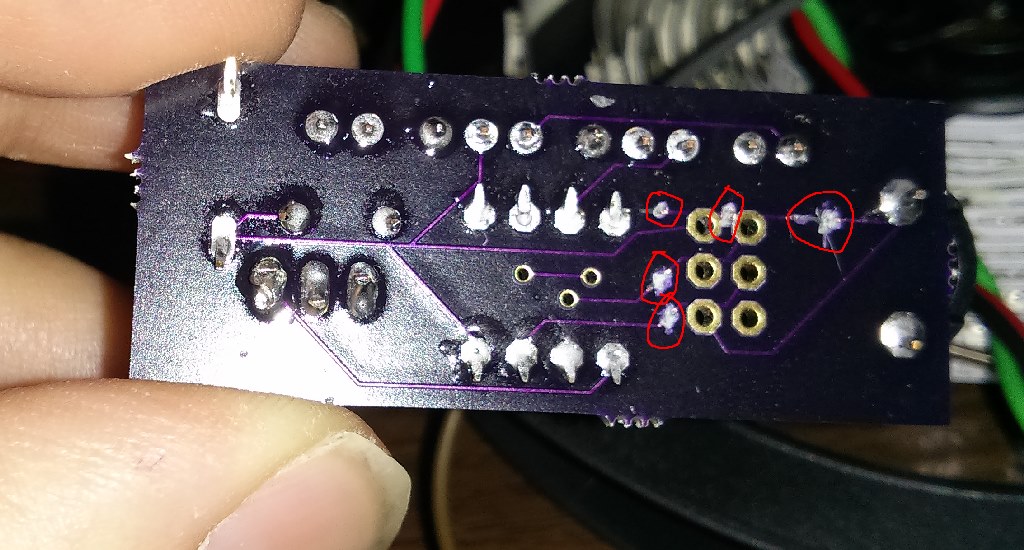

Ax Man surplus in Minneapolis is a magical place. They have tons and tons of electronic and industrial surplus, plus a bunch of just general weird crap. It helps that the place is packed with the bizarre inventions of the owners and employees (robotic mannequins with mismatched limbs, motion sensing babies that cry when you walk by with a chilling robotic scream, etc.).
Last time I was up there, I found a board with a bunch of seven-segment displays, a chip, and a 6-pin connector. I thought the chip might be an LED driver I could look up, so I took a $2 bet and bought it, figuring I might be able to reverse engineer it.
The chip turned out to be a common LED driver, the MAX7221. I applied the circuit tracing technique I described earlier, and found that the connector easily mapped to power, ground, and signalling for the chip. So I made a clock out of it. Also, I spotted why the board was sent to surplus:
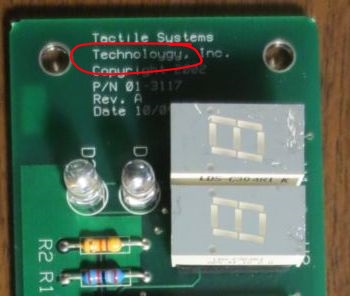
What a waste for Tactile Systems Technology…a whole run of boards fully populated, thrown out because of a silk screen typo :-). That company is still around — they make medical gear, so I guess the thought of a life saving device with a typo was a non-starter.
Build directions after the break. Continue reading Ax Man Clock

A while ago, I read a post about “Smart Tweezers” on Hack a Day, as well as a DIY version as well. These are good designs to measure components without trying to hold two probes and the component at the same time. These designs are overkill (and overpriced) for what I do, though…I don’t need a whole meter built into my tweezers.
That inspired me to build this cheap hack: E-tweezers. Basically, I just made the tips of some plastic tweezers conductive, and wired them down to some alligator clips to hook to my multimeter:
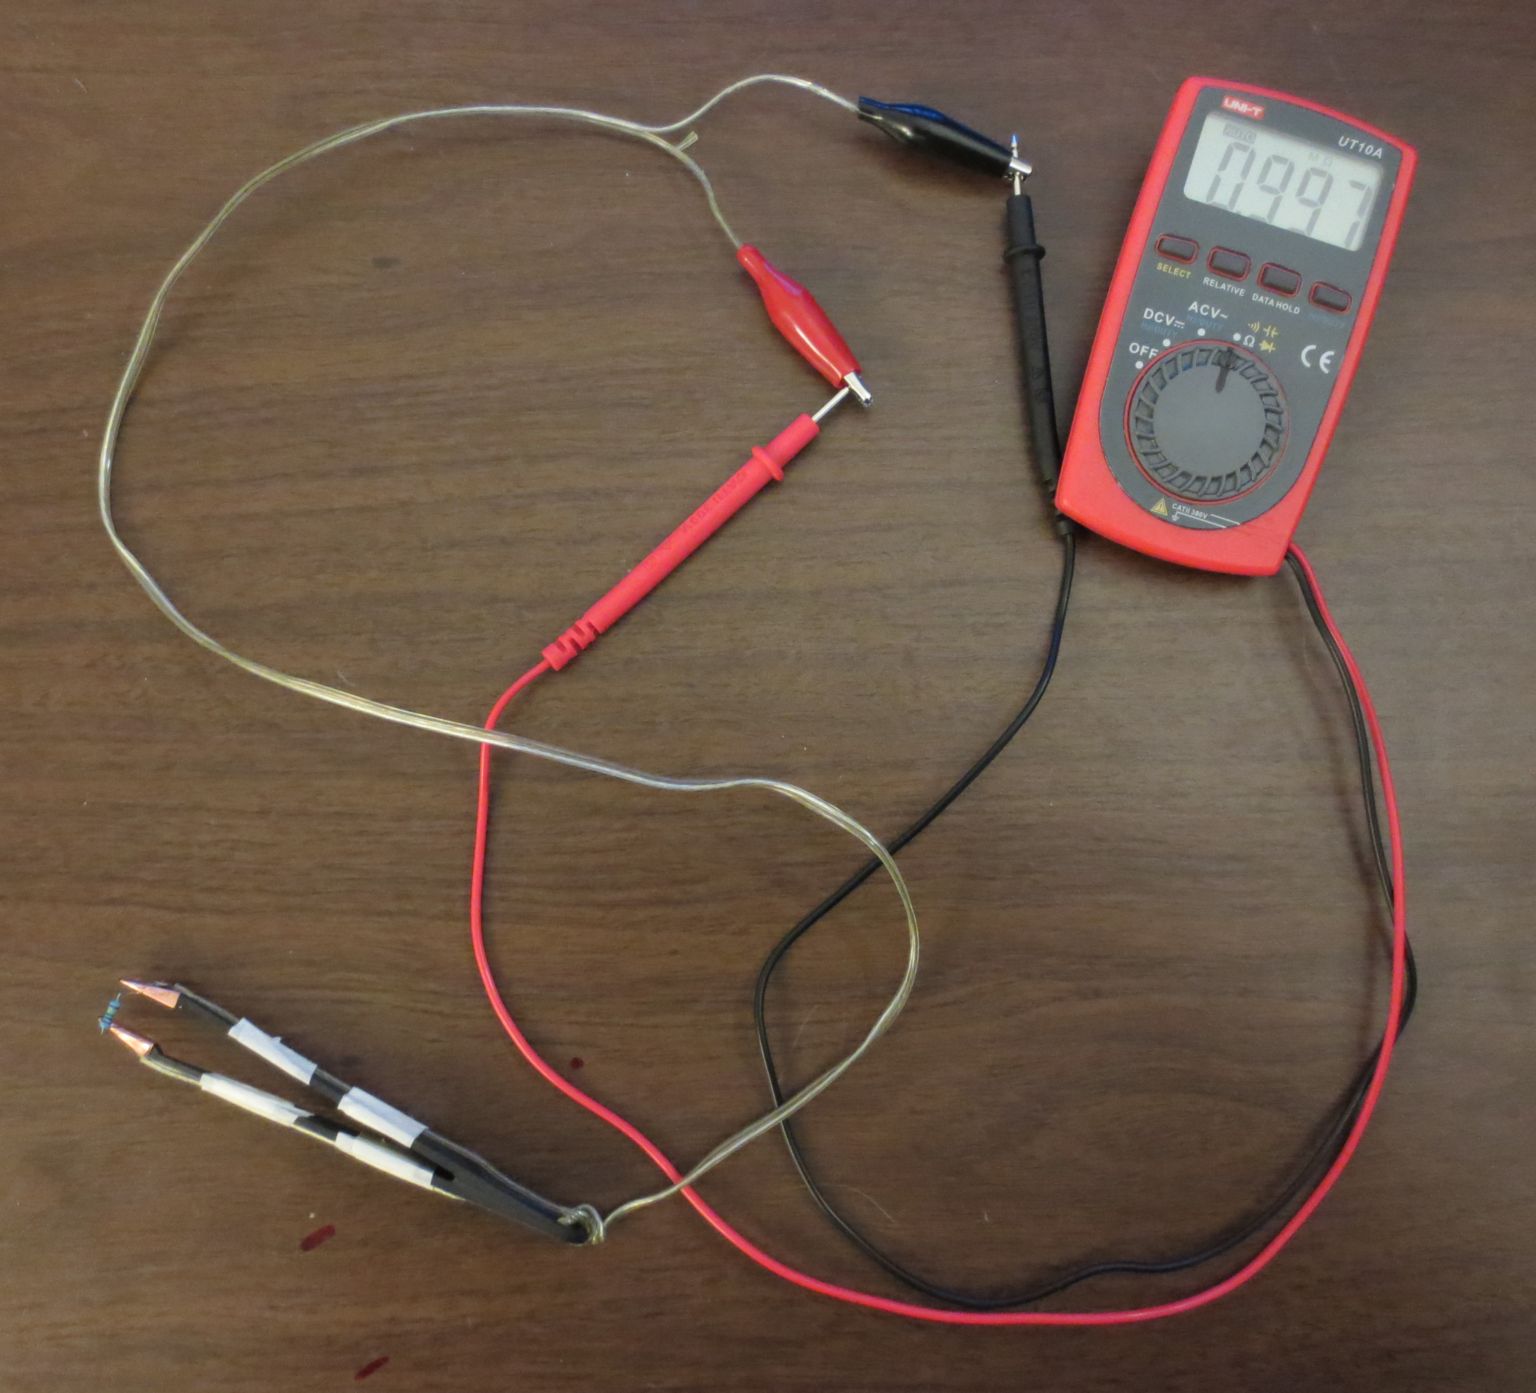
Build directions are after the break.
Continue reading E-tweezers: a $6 way to make multimetering easier